
What Suspension Settings Do I Change If I’m Getting Bucked on Jumps?
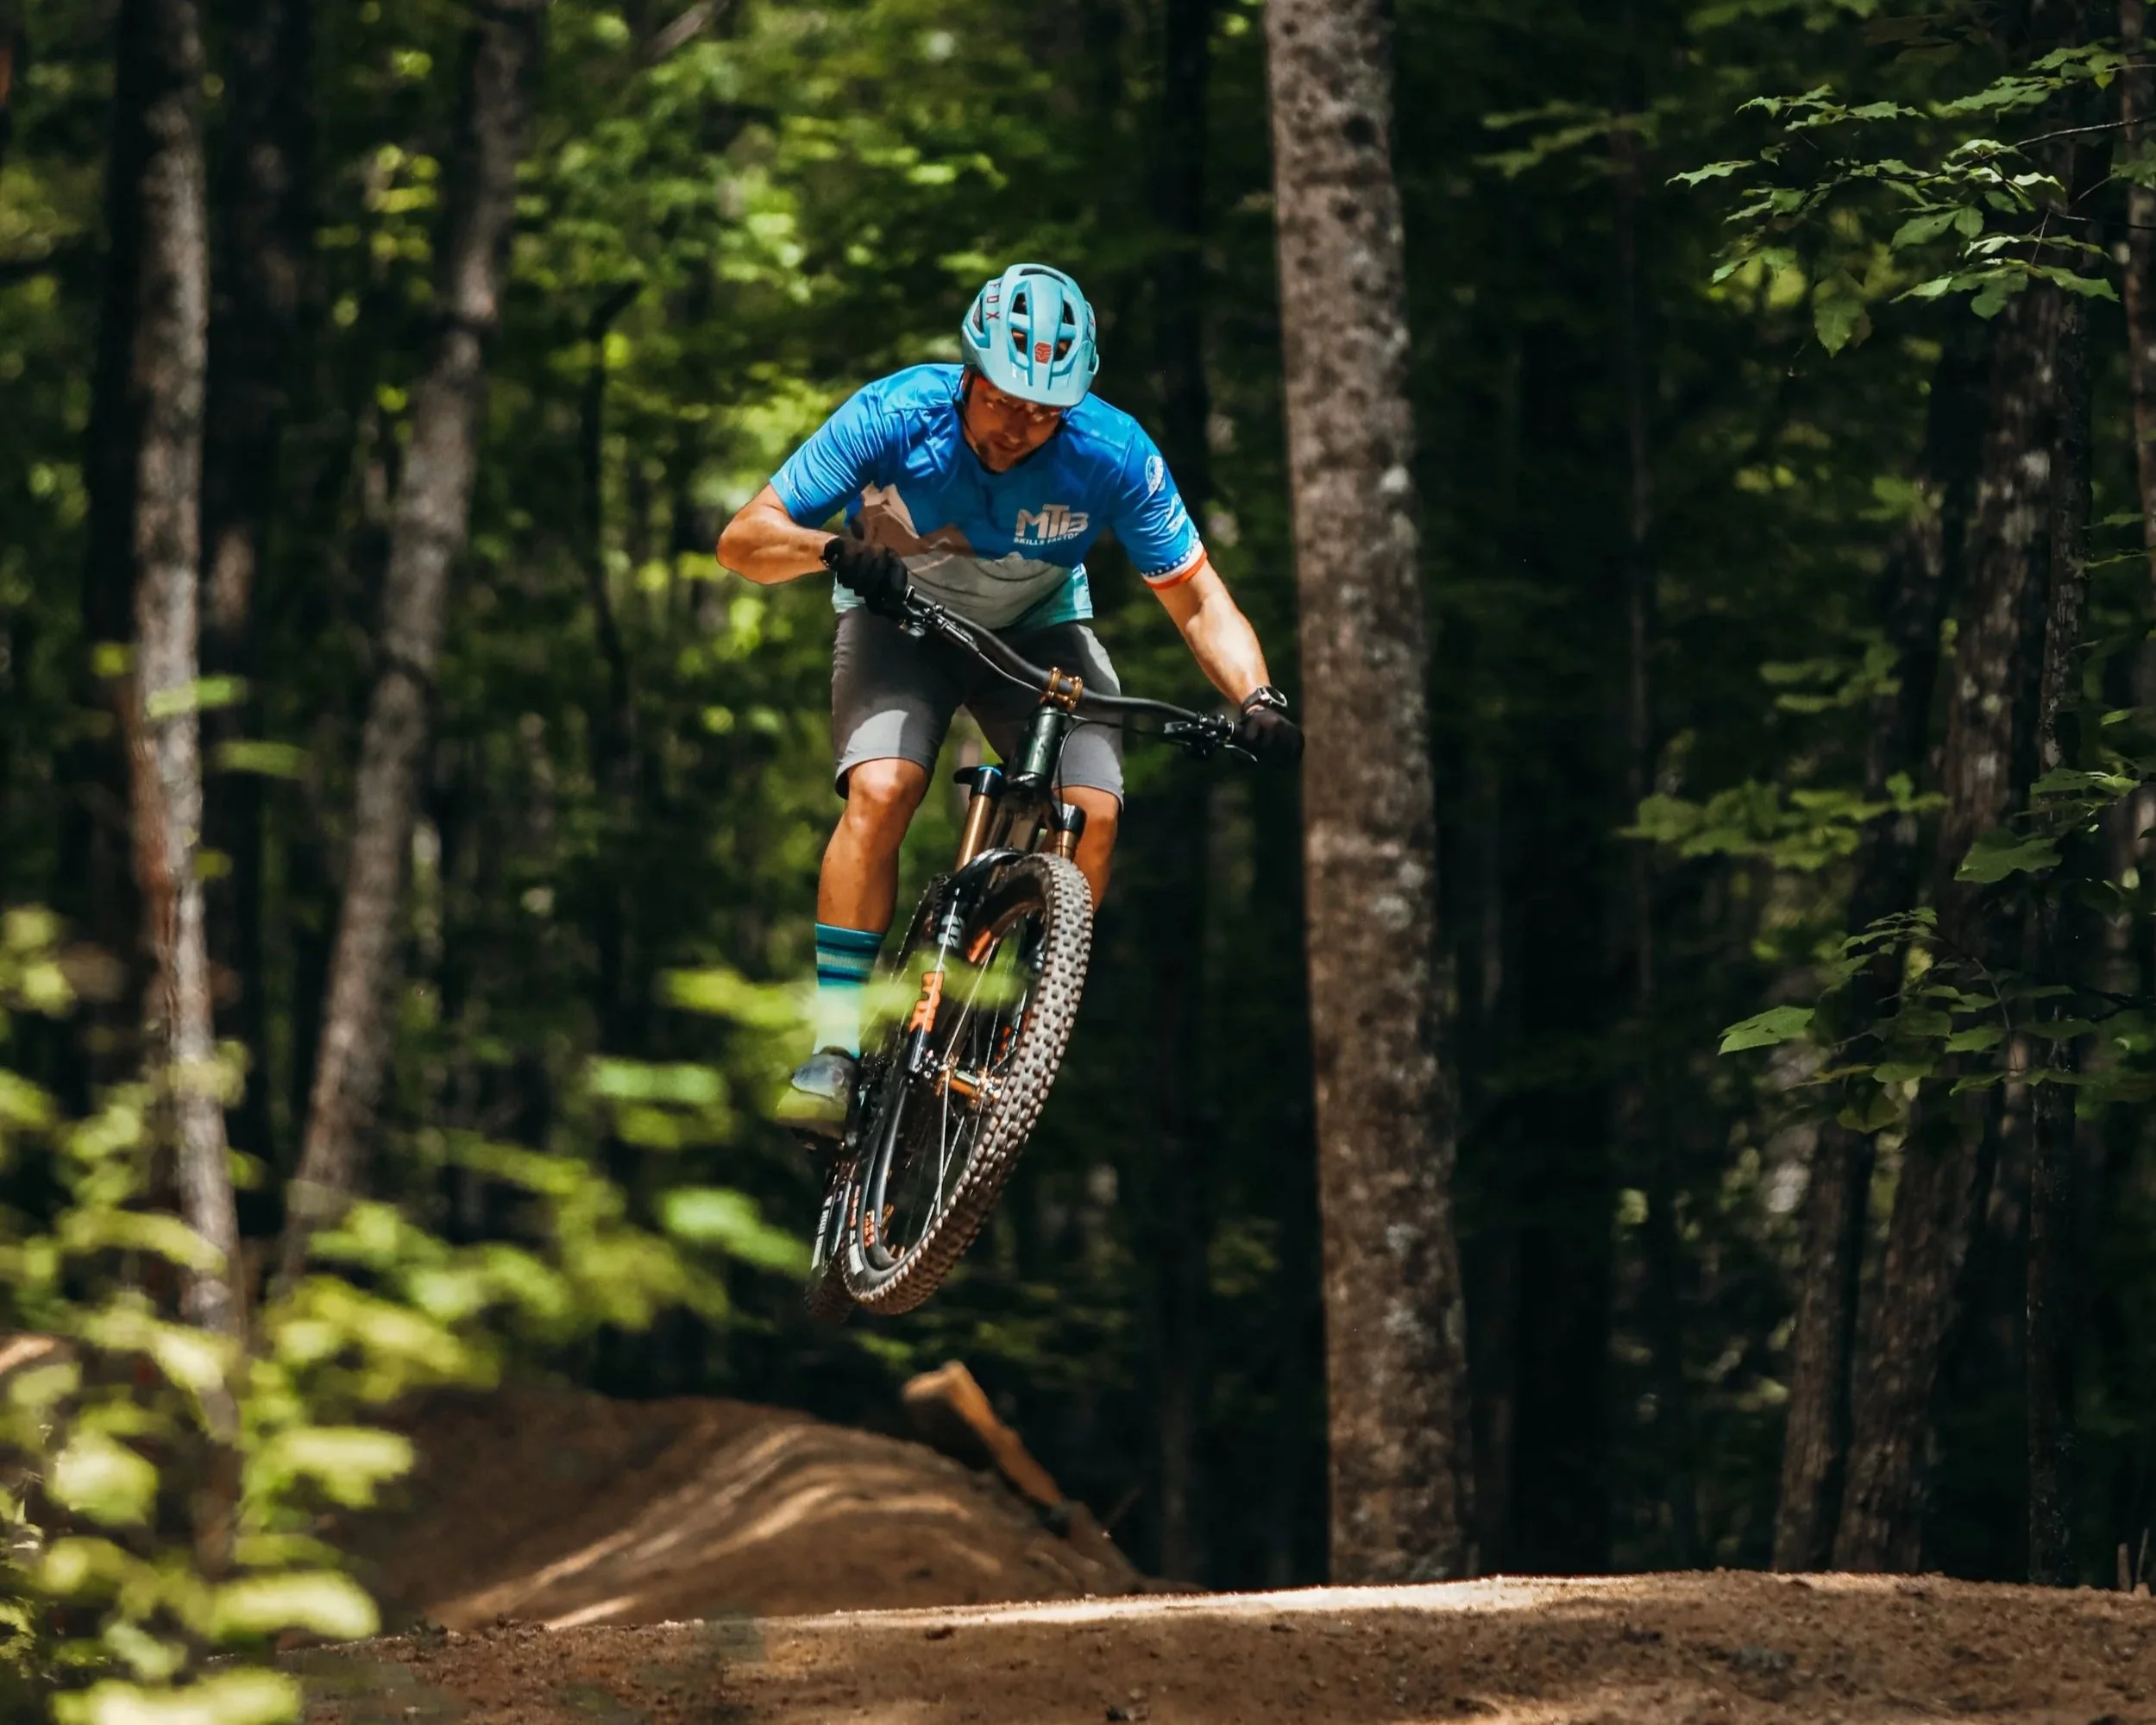
That’s a question Head Coach Josh gets about once a week—and he spends nearly 300 days a year coaching on the trail.
We sat down with Josh to break down why so many riders run into this terrifying problem and why twisting knobs on your shock isn't the fix you think it is.
Here’s what Head Coach Josh had to say:
I’ll be in the middle of teaching a skills lesson at the bike park when someone will recognize that we’re talking about jumping. They’ll roll over and ask the classic question:
“What setting on my shock do I need to adjust to keep from getting bucked on jumps? I think it’s the rebound…”
I get it. It’s downright terrifying to be thrust into the air with the sensation that your rear wheel is coming up over your head while your front wheel dives.
Best-case scenario: You land nose-heavy, inducing a half-second heart attack as you ride it out, knowing you barely escaped with your life.
Worst-case scenario: You go over the bars and your face becomes the first thing to make contact with the landing zone.
So, surely it’s the rebound knob, right?
I’ll let you in on the harsh truth: No suspension adjustment is going to keep you from getting bucked on jumps. Yes, certain suspension settings can be optimized for jumping, but your setup isn't the cause of your inconsistent, near-death experiences.
The Real Reason You’re Getting Bucked
The real reason you’re getting bucked is simple: You are doing nothing.
That’s right—nothing.
You’re approaching the jump low and close to the bike, weight biased toward the rear wheel, and then just riding off the ramp in your little crouched ball with zero additional movement.
I’m guilty of it too! When I’m approaching something big that scares me, my brain locks me into that low-and-back position, seeking what feels like a stable and strong stance for the chaos that’s about to ensue.
The problem is that when you do this on a jump, the rear wheel loads heavily into the ramp and catches on the lip. This sets up a pendulum rebound force that causes sudden forward rotation and a nose dive.
Quick Band-Aid vs. Open the Textbook
When riders ask me if they should slow down their rebound, my brain fills with equal parts confusion and an urge to explain the physics. It’s like seeing code in the Matrix—angles, vectors, loads, shapes, speed, and forces all flash before my eyes.
Do I give them the quick band-aid and just tell them to turn the rebound dial to see if it helps? Or do I open the textbook and explain why that doesn't make any sense?
A saying popularly attributed to Albert Einstein fits here:
“If you can’t explain it simply, you don’t understand it well enough.”
Usually, I give the interrupting rider a 30-second “elevator pitch” on how to keep from getting bucked. It points them in the right direction, lets me return my attention to my paying client, and offers a little “window shopping” view of what hiring a professional skills coach can do.
The 30-Second Jumping Elevator Pitch
Here is what I tell them:
Stand up on the approach. Get into a tall position—arms and knees only slightly bent, centered, with all your weight in your feet and your chin over your stem. This gives you room to move. The more crouched you are on the approach, the less range of motion you have available.
Press (load) the bike into the ramp. Rather than just riding into the ramp and reacting to what happens, put yourself in control of the forces. Bend your knees and press the bike through your feet, loading the tires equally into the transition.
Extend. Just after you’ve loaded the bike with intention, extend your legs and arms. Think of it like jumping on flat ground: you bend your knees, press into the ground, and extend your whole body upward.
Absorb. Ideally, this happens when both wheels are in the air. A subtle bending of the knees and poking the bars forward will allow the bike to make that perfect "rainbow" arc over the top into the landing. (Note: You can also absorb sooner as the rear wheel leaves the lip to scrub speed or tone down the jump's forces.)
In summary: Get tall as you approach, and be active and intentional with your movements. The more you stay crouched in a passive little ball, the more aggressively you’ll get bucked.
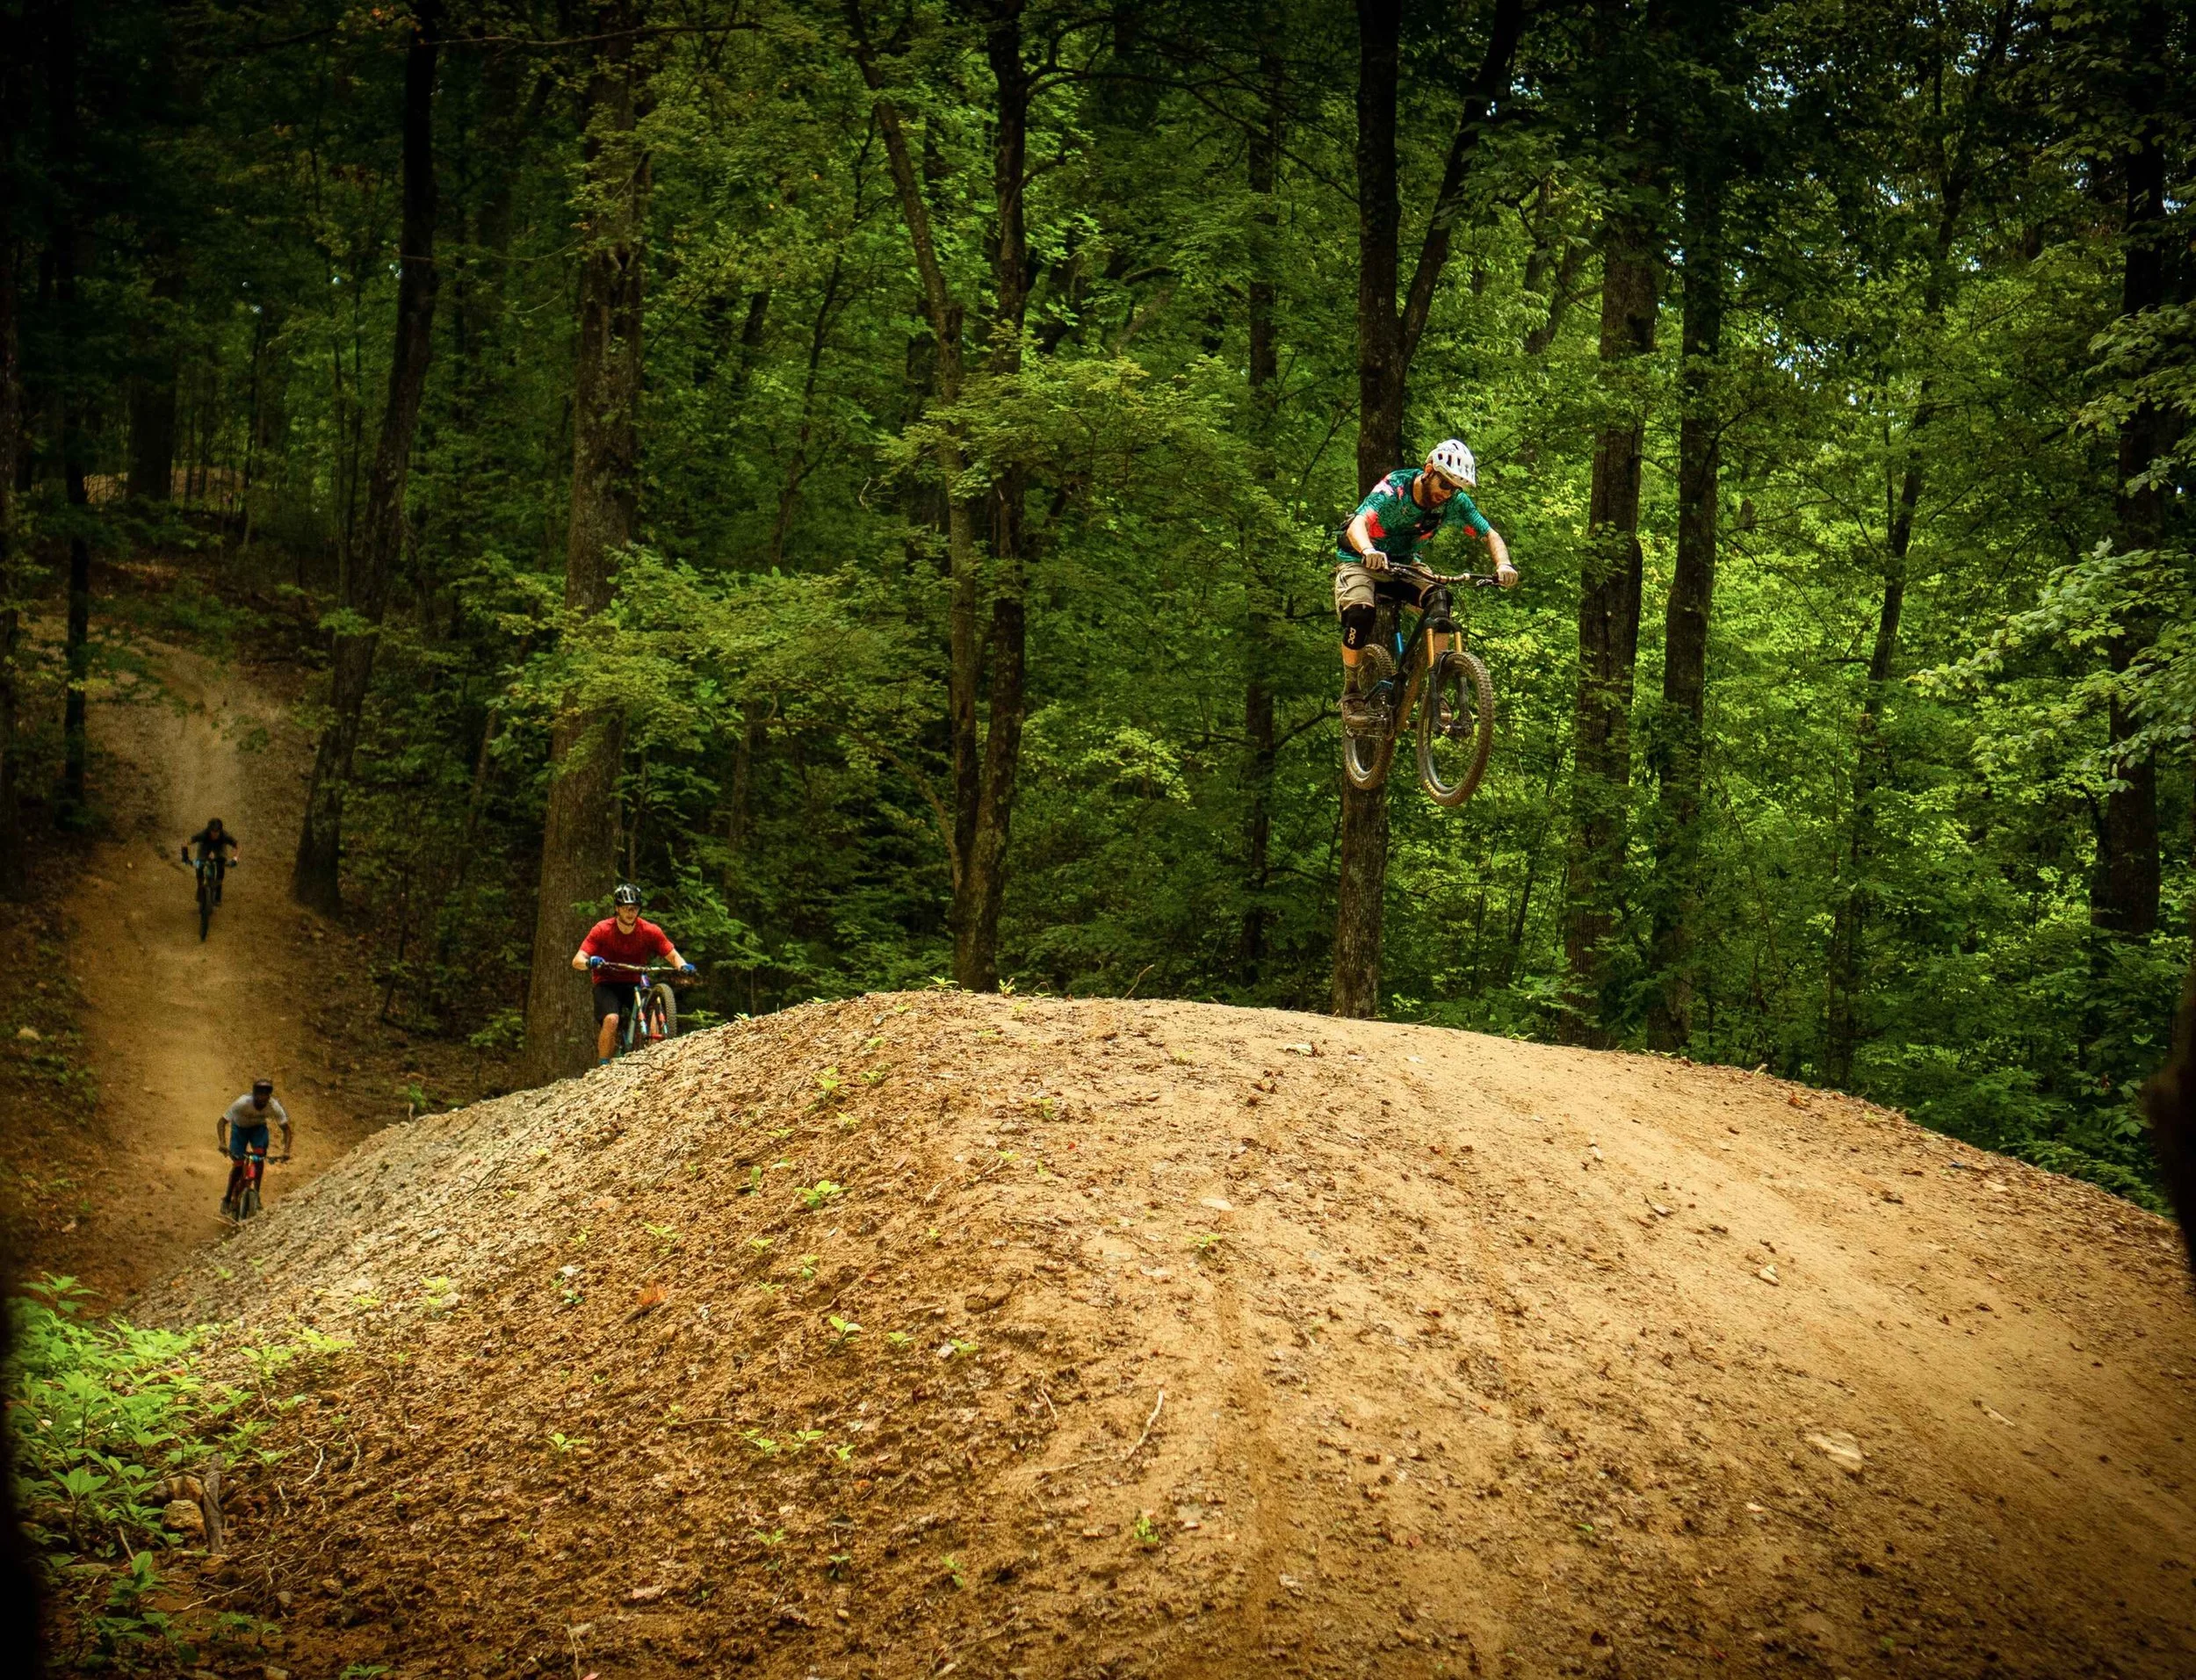
Moving Beyond the "Elevator Pitch"
This quick advice is usually enough to motivate riders to head off and experiment on their own. It’s pretty satisfying to watch them move more and get bucked less as they ride laps nearby. Sometimes, pointing someone in the right direction is all they need for a breakthrough.
But wait, there’s more!
If a 30-second tip can improve your jumping, what’s the point of taking a private lesson?
As always, the secret is in the nuance. It’s one thing to know what to do; it’s another to build the body awareness and progression to actually do it. So much online "how-to" content breaks down advanced technique but completely skips how to build those skills step-by-step if you can't do them right away.
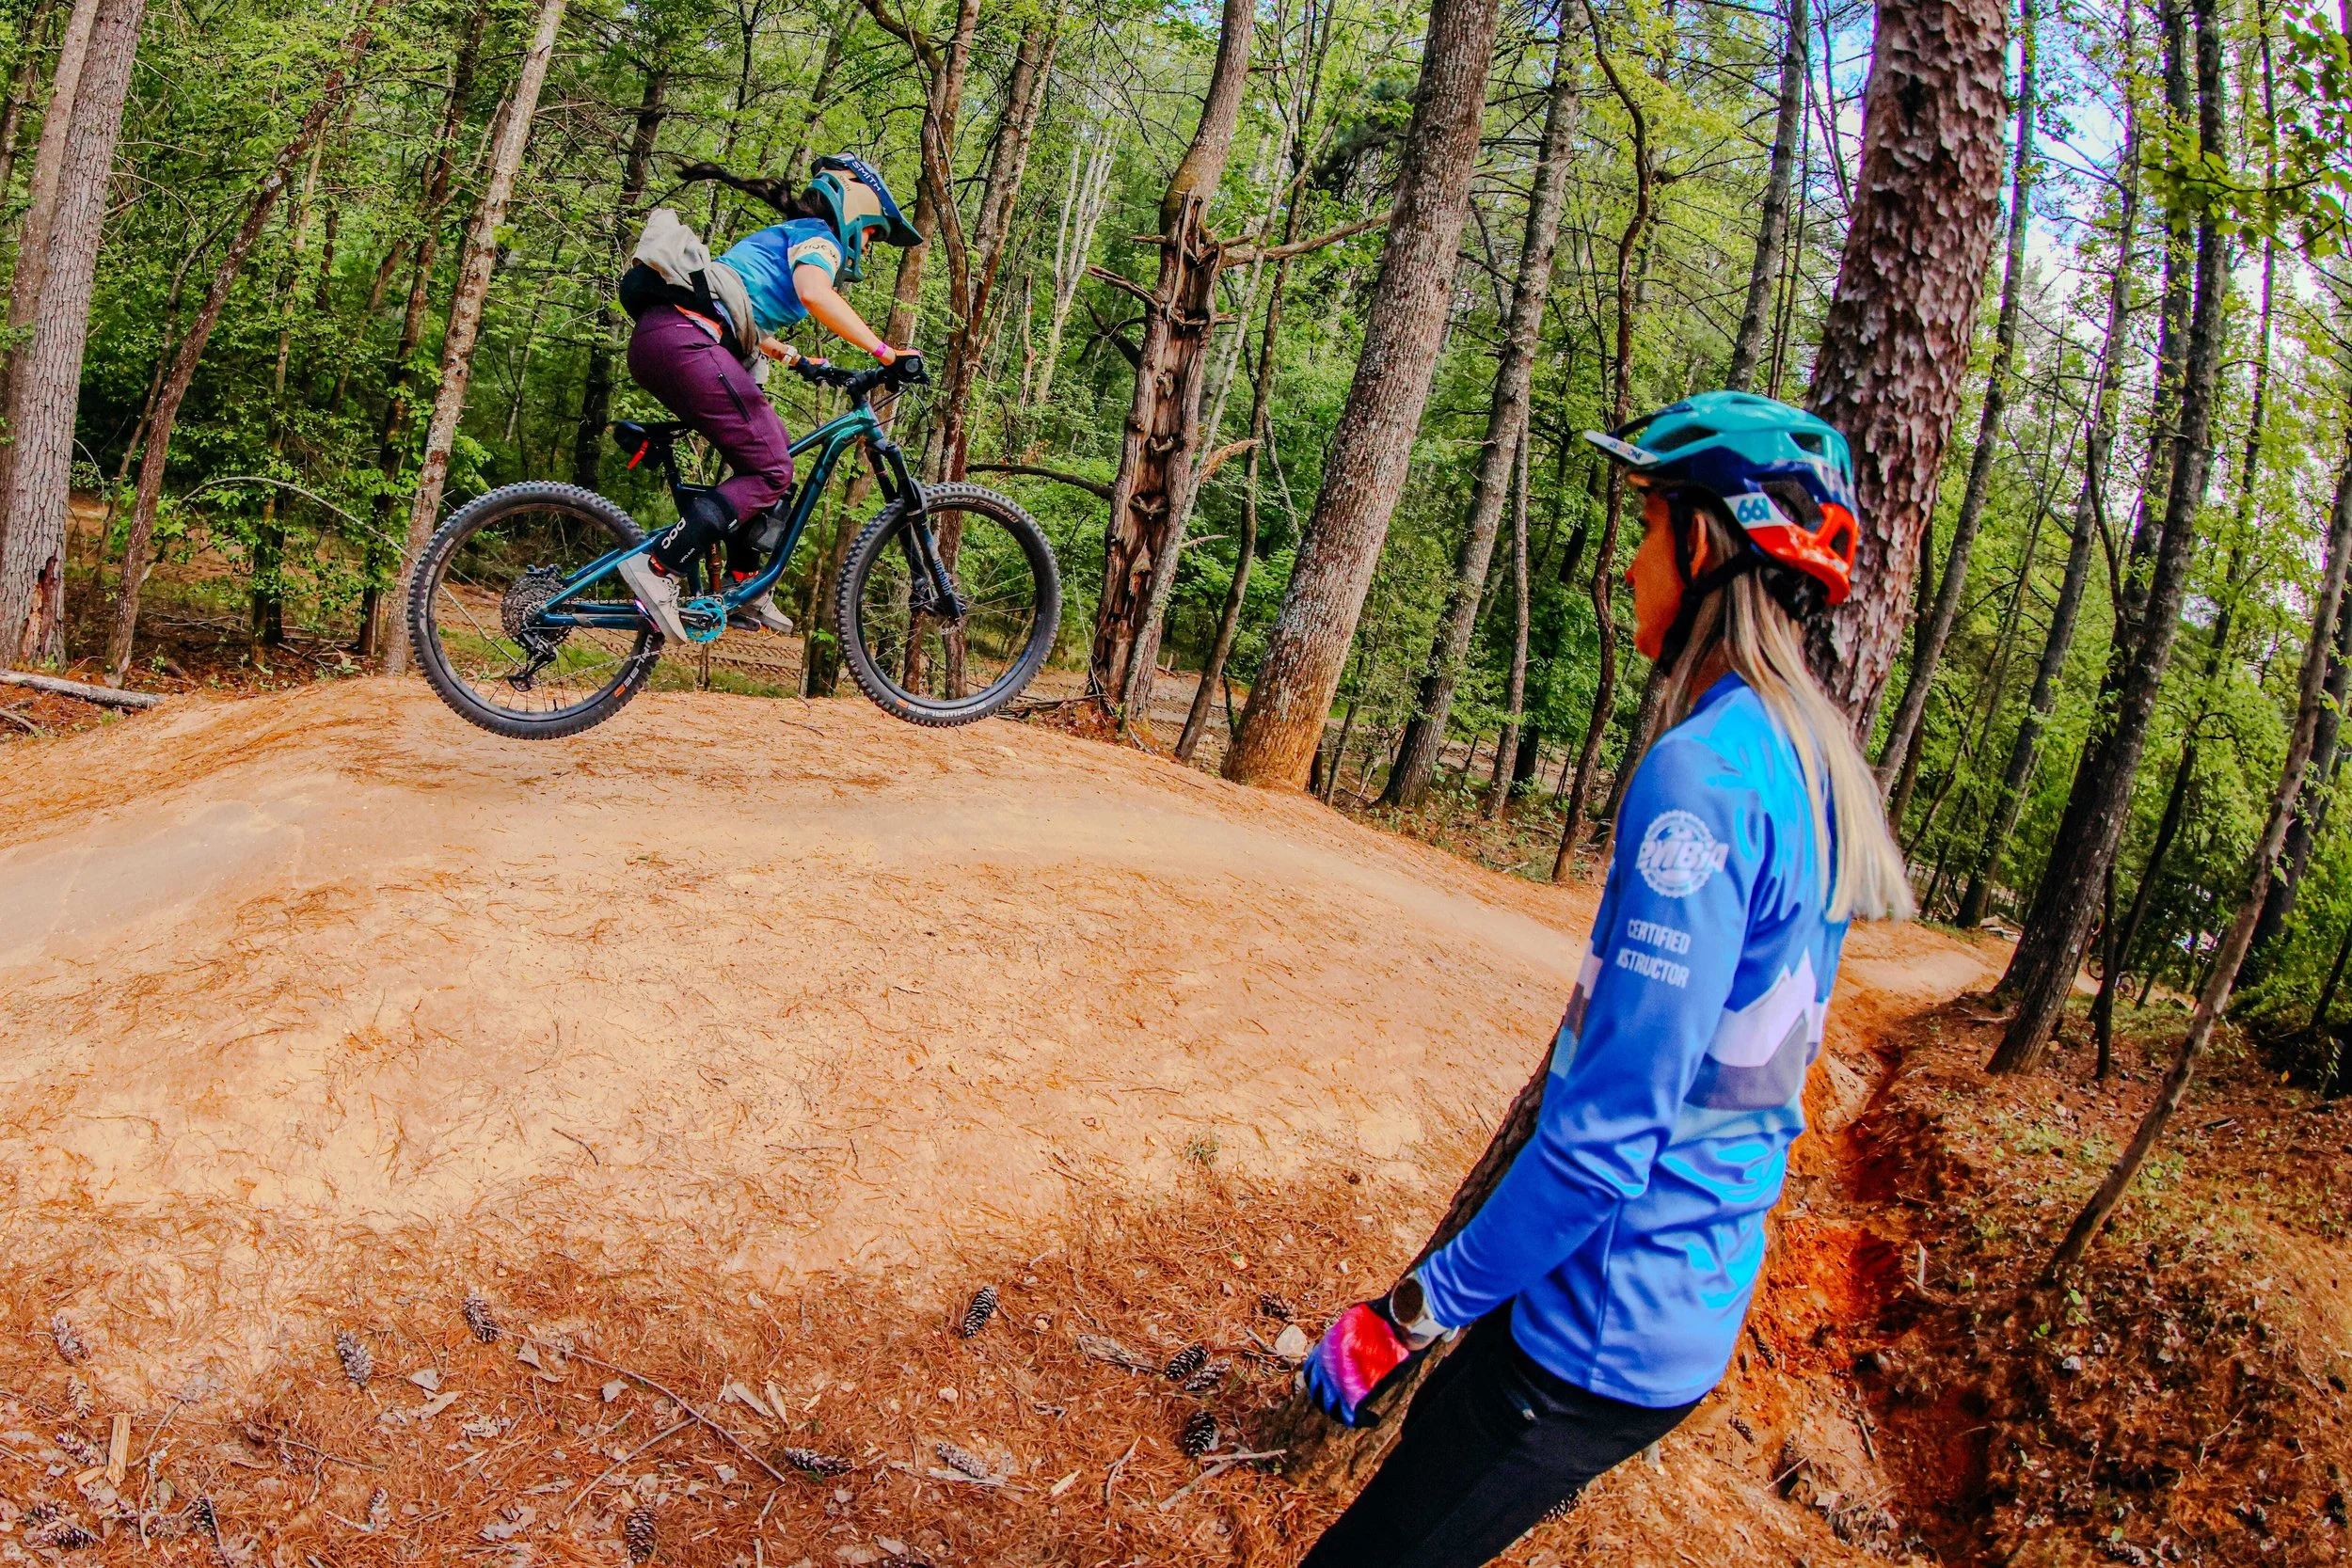
Jumping is one of our most requested lesson topics because it’s complex. Here are a few nuanced details we help riders fine-tune in person ⬇️
Adjusting Press Duration & Intensity: Depending on the ramp shape and approach speed, you need to adapt. Sometimes you need a short, quick press; other times, you need to spread the press over a longer distance. Sometimes you need a subtle touch, and other times you really need to give it the beans.
Timing the Press: Common feedback involves where to load the bike. Do you need to load earlier at the transition, or later near the lip? It changes with every jump shape.
Direction of Force: Lower-angle takeoffs require more of a "level lift" motion, while steep, curved lips require more of a "bunny hop" movement. You have to adapt your technique to match the ramp.
Refining Extension & Absorption: These movements also require fine-tuning based on your entry speed and the feature's layout.
The Takeaway
Any “one-size-fits-all” approach to jumping only works on jumps that match that exact shape. When learning, you need to master one type of jump first, then build the adaptability to handle different shapes, speeds, and sizes.
So, don't blame your shock's rebound knob next time you get bucked. It's harsh, but it's usually user error from staying passive on the bike.
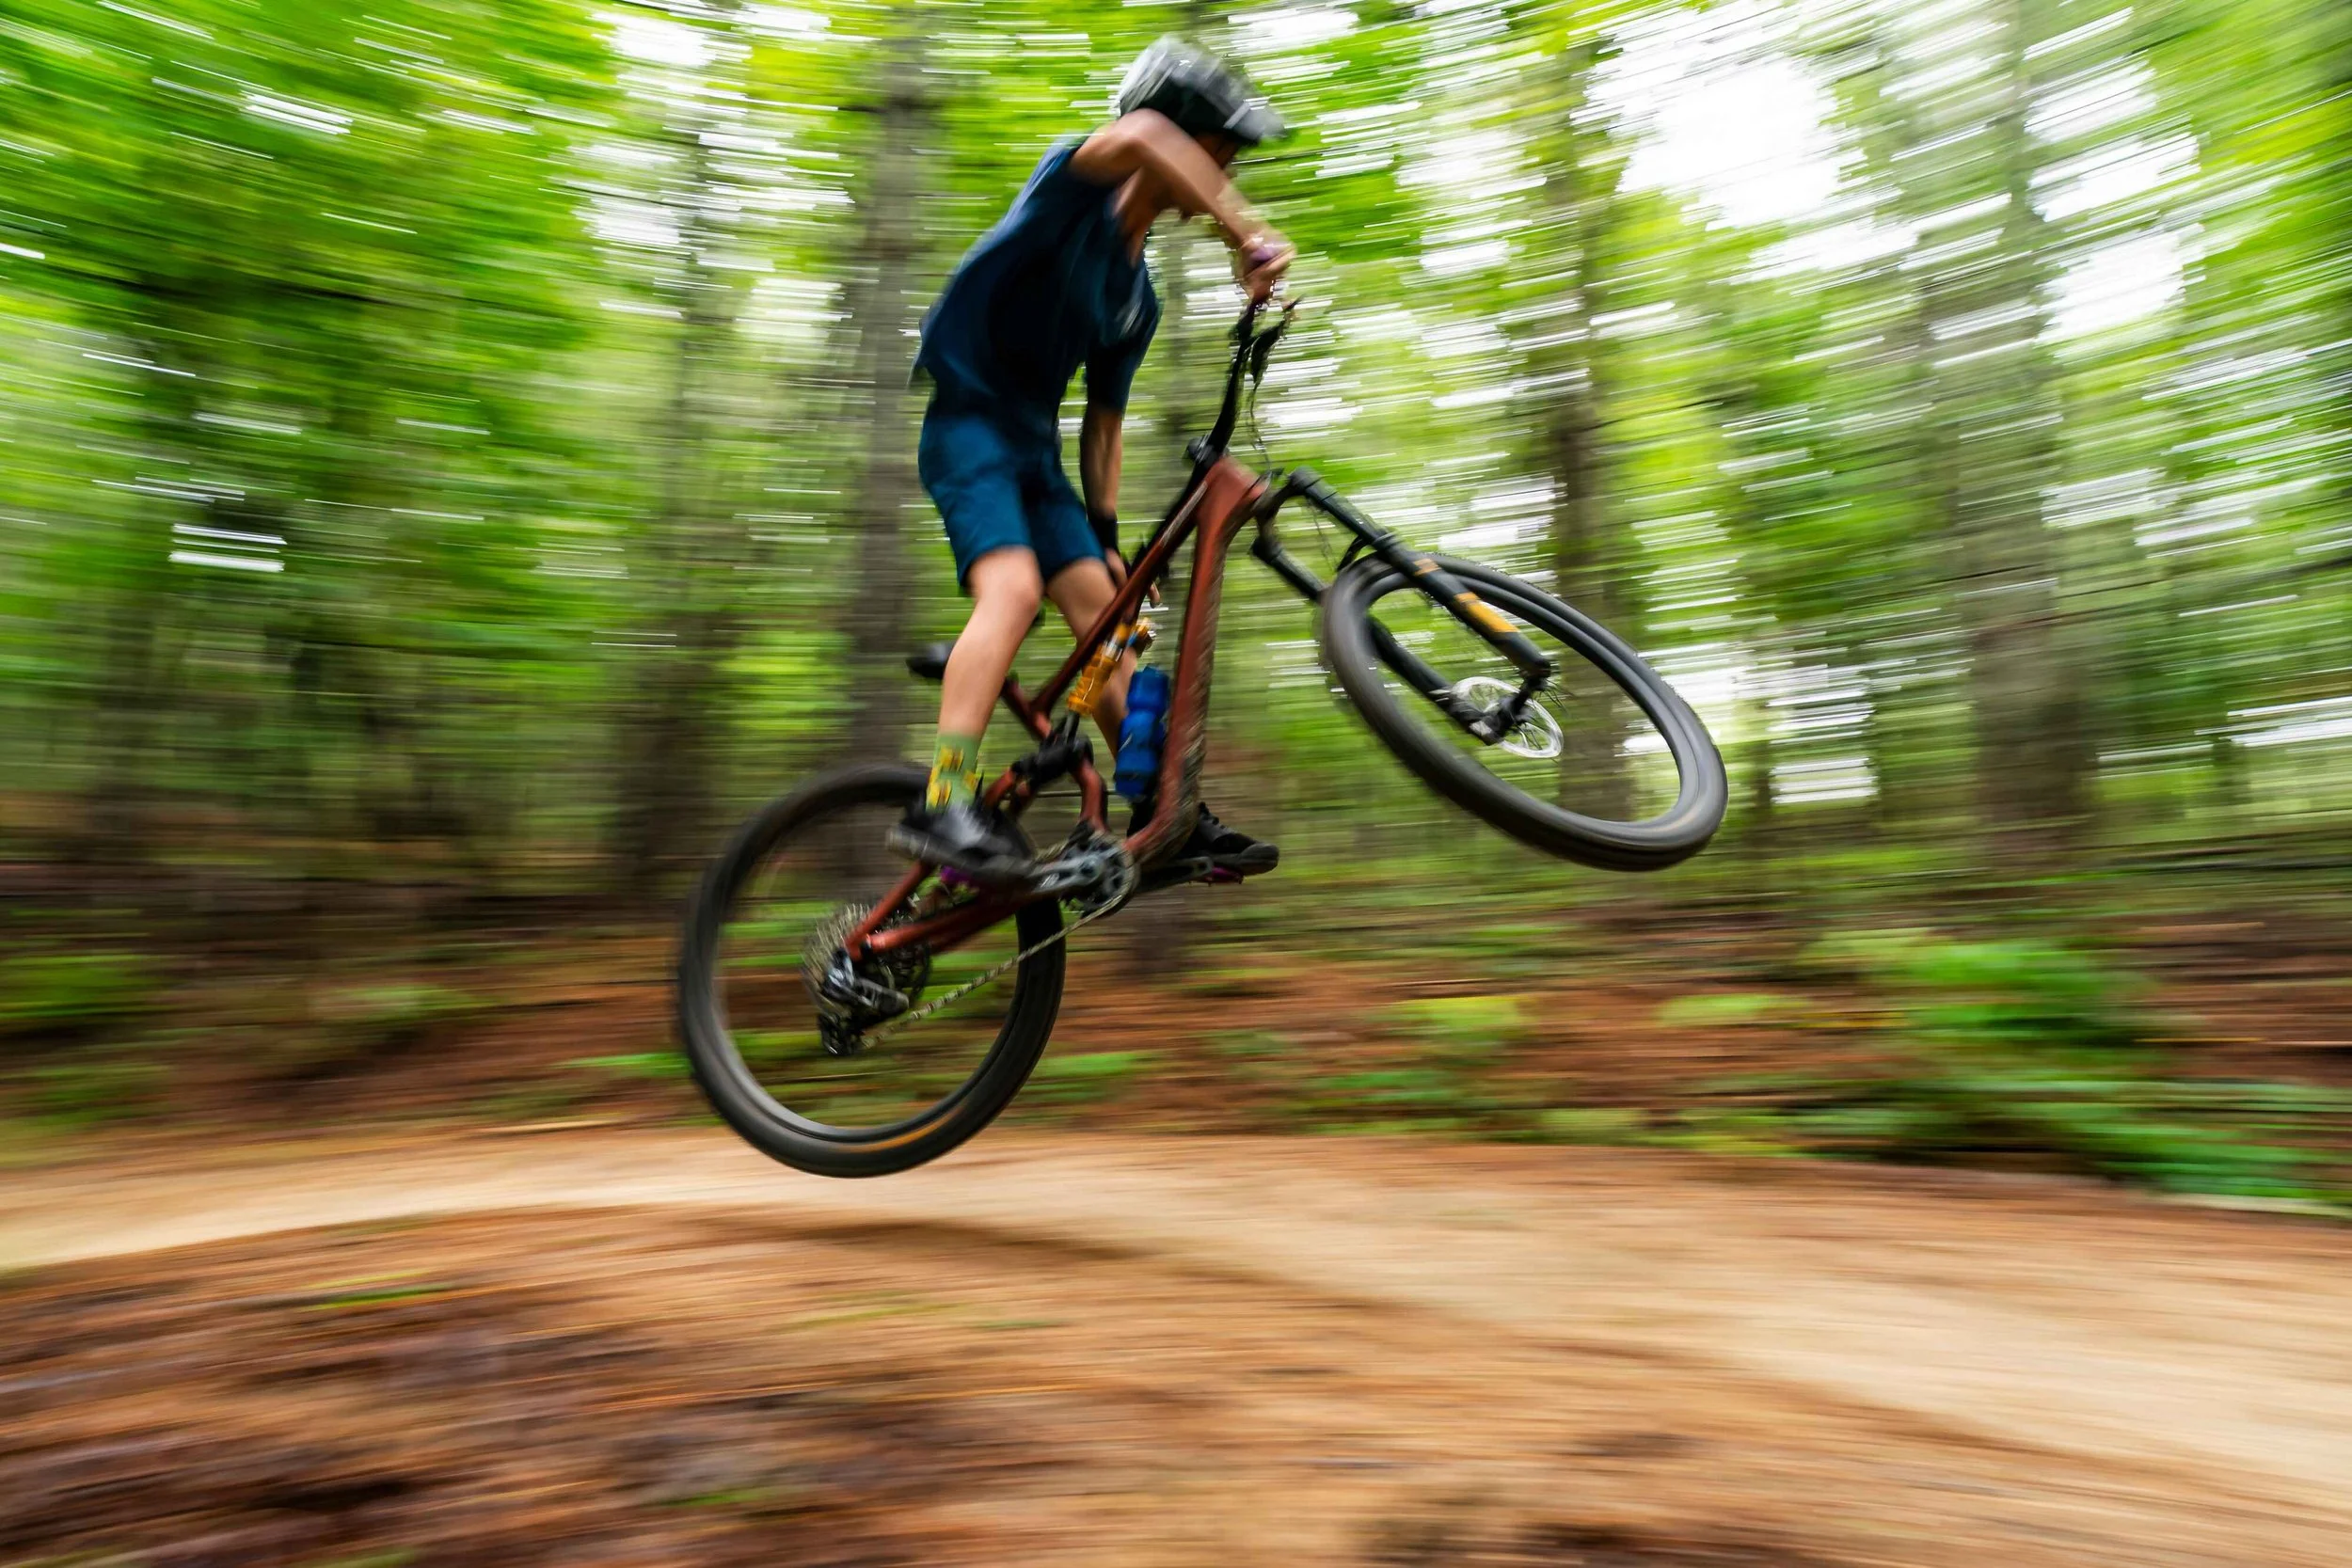
The good news? Active riding is fun, trainable, and incredibly rewarding once you start feeling that control in the air. Get tall, push into that ramp, and take control of the ride!
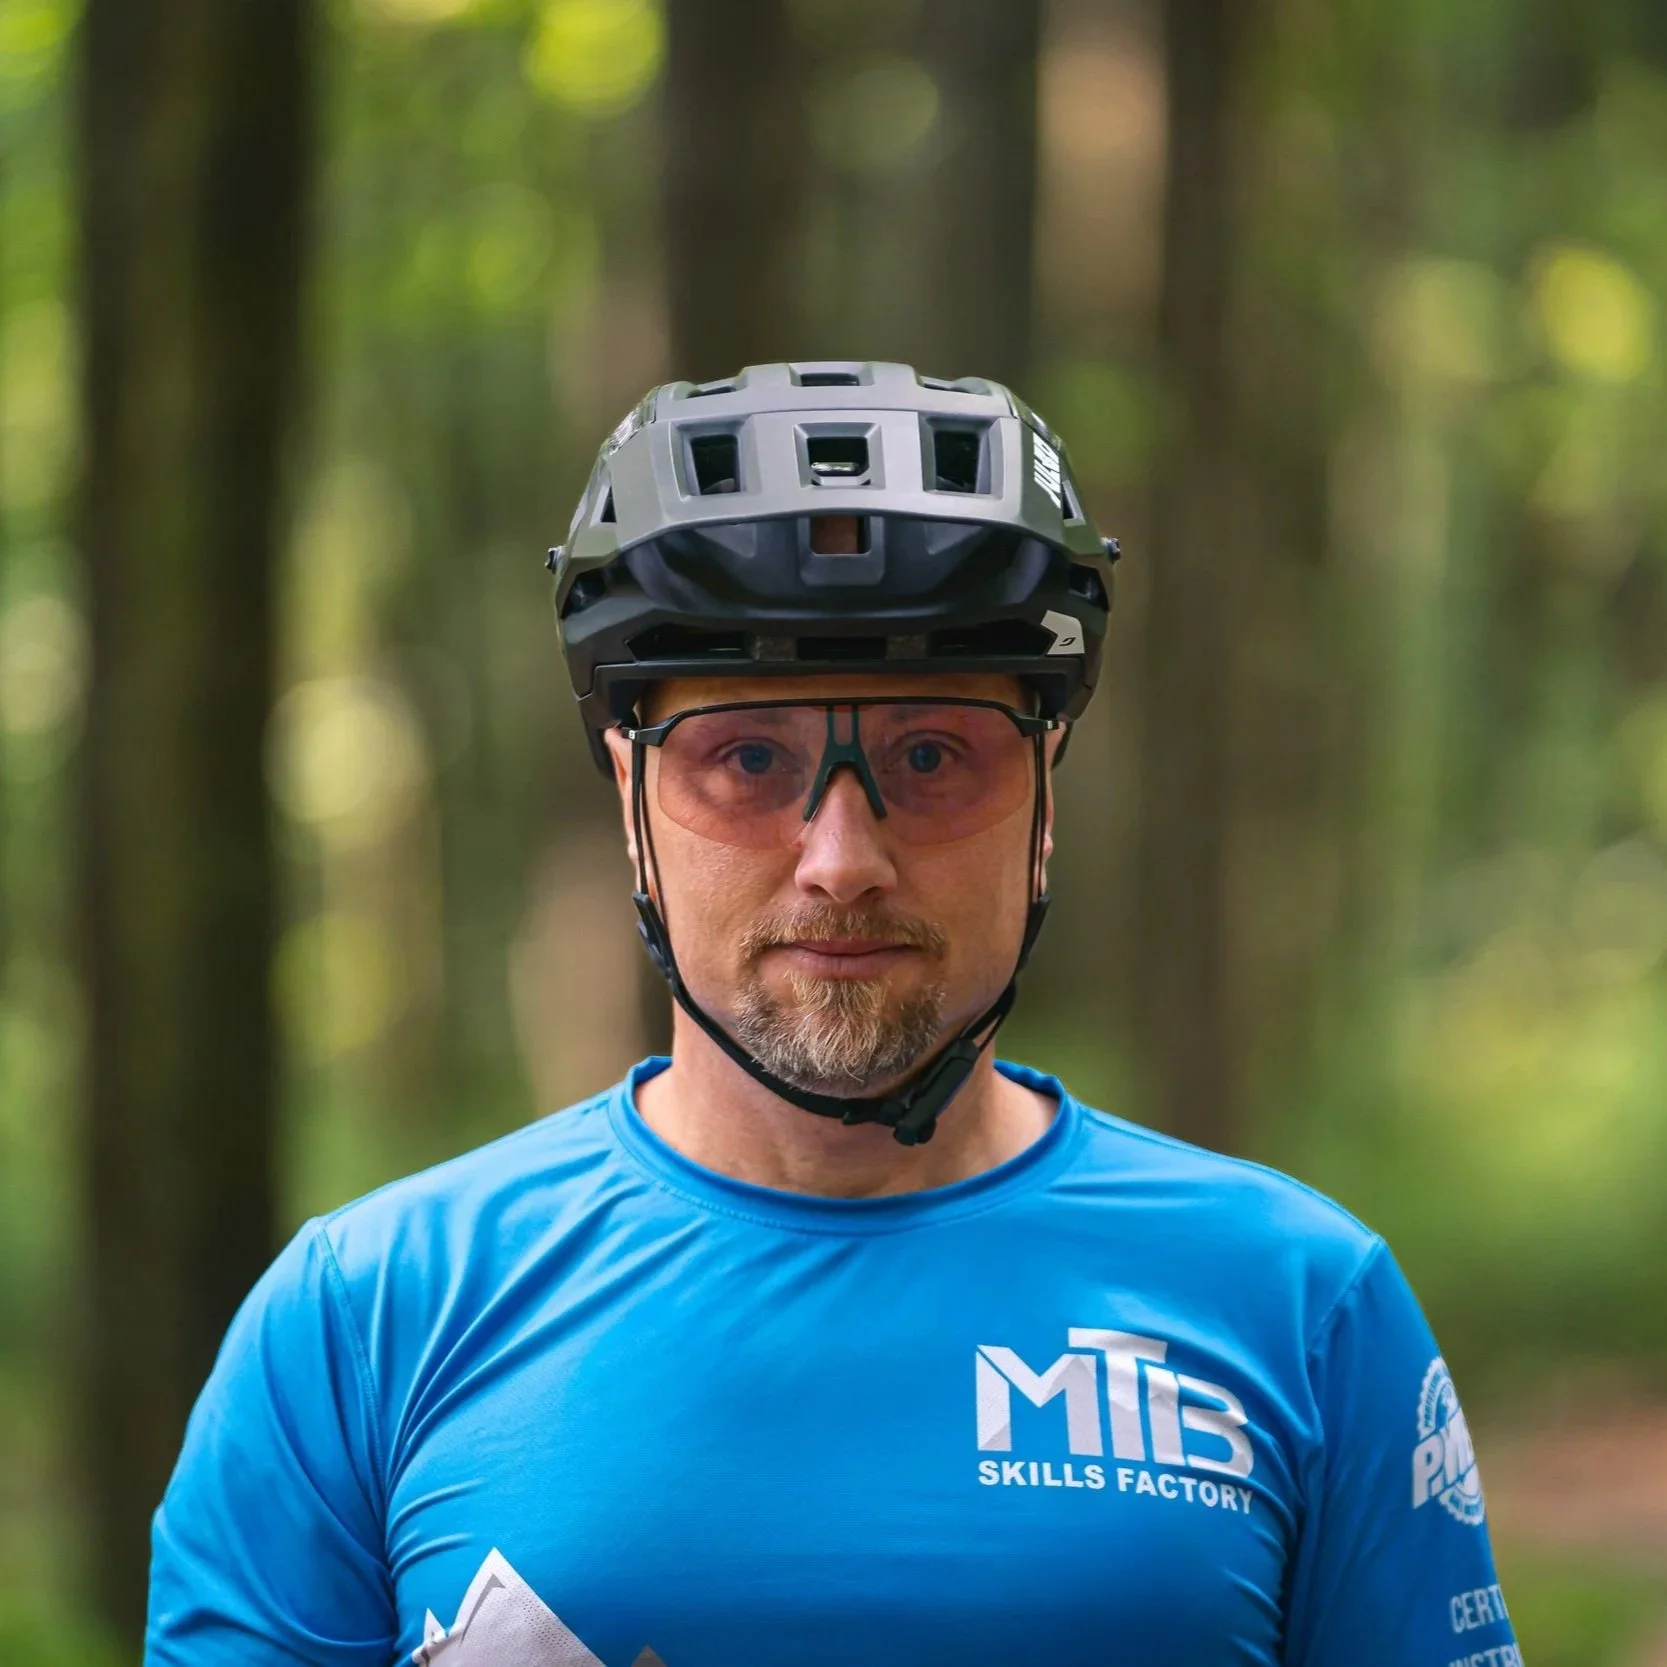
Meet the author: As the Founder and Head Coach of MTB Skills Factory, Josh Whitmore brings elite expertise to mountain bike instruction. He holds a GSMBC Level 4 Expert Coach Certification—a title shared by only three other instructors nationwide. In addition to coaching riders year-round, Josh is the country's most active instructor trainer, running 13 to 15 courses per year to mentor fellow coaches aiming for higher certifications.