How To Avoid Going Over The Handlebars (OTB)
Going over the handlebars—or OTB—is everyone’s least favorite way to crash. It’s often an intense way to be thrown from your bike and can lead to serious injuries, especially at higher speeds.
While we’d all prefer to stay upright, crashing is a risk we accept as part of the journey. However, you can minimize both the likelihood and the severity of accidents. Follow the tips below to stay strong and centered against the forces you face on the trail. Here’s to more riding and less ejecting!
Intentional Braking as a Technical Skill:
Building Blocks: Focus on gradual application, consistent pressure, and smooth modulation of the brakes. Practice with just the back brake while you get comfortable and work out the jitters that cause panic braking.
Don’t Fear the Front: Panic-pulling the front brake will cause you to go over the handlebars easily, but you shouldn’t be afraid of it. We teach adding in the front brake with bracing to help keep your forward momentum from taking you over the bars.
Pressure Braking Technique: Pressure Braking is when you aggressively brake while simultaneously lowering your body (center of gravity) with force. This downward motion helps keep you and your bike planted for more traction.
Progression: Eventually,
you should be using both brakes (still gradually + consistently),
bracing when you need to brake quickly,
and using your front brake more as you progress to steeper, more advanced terrain.
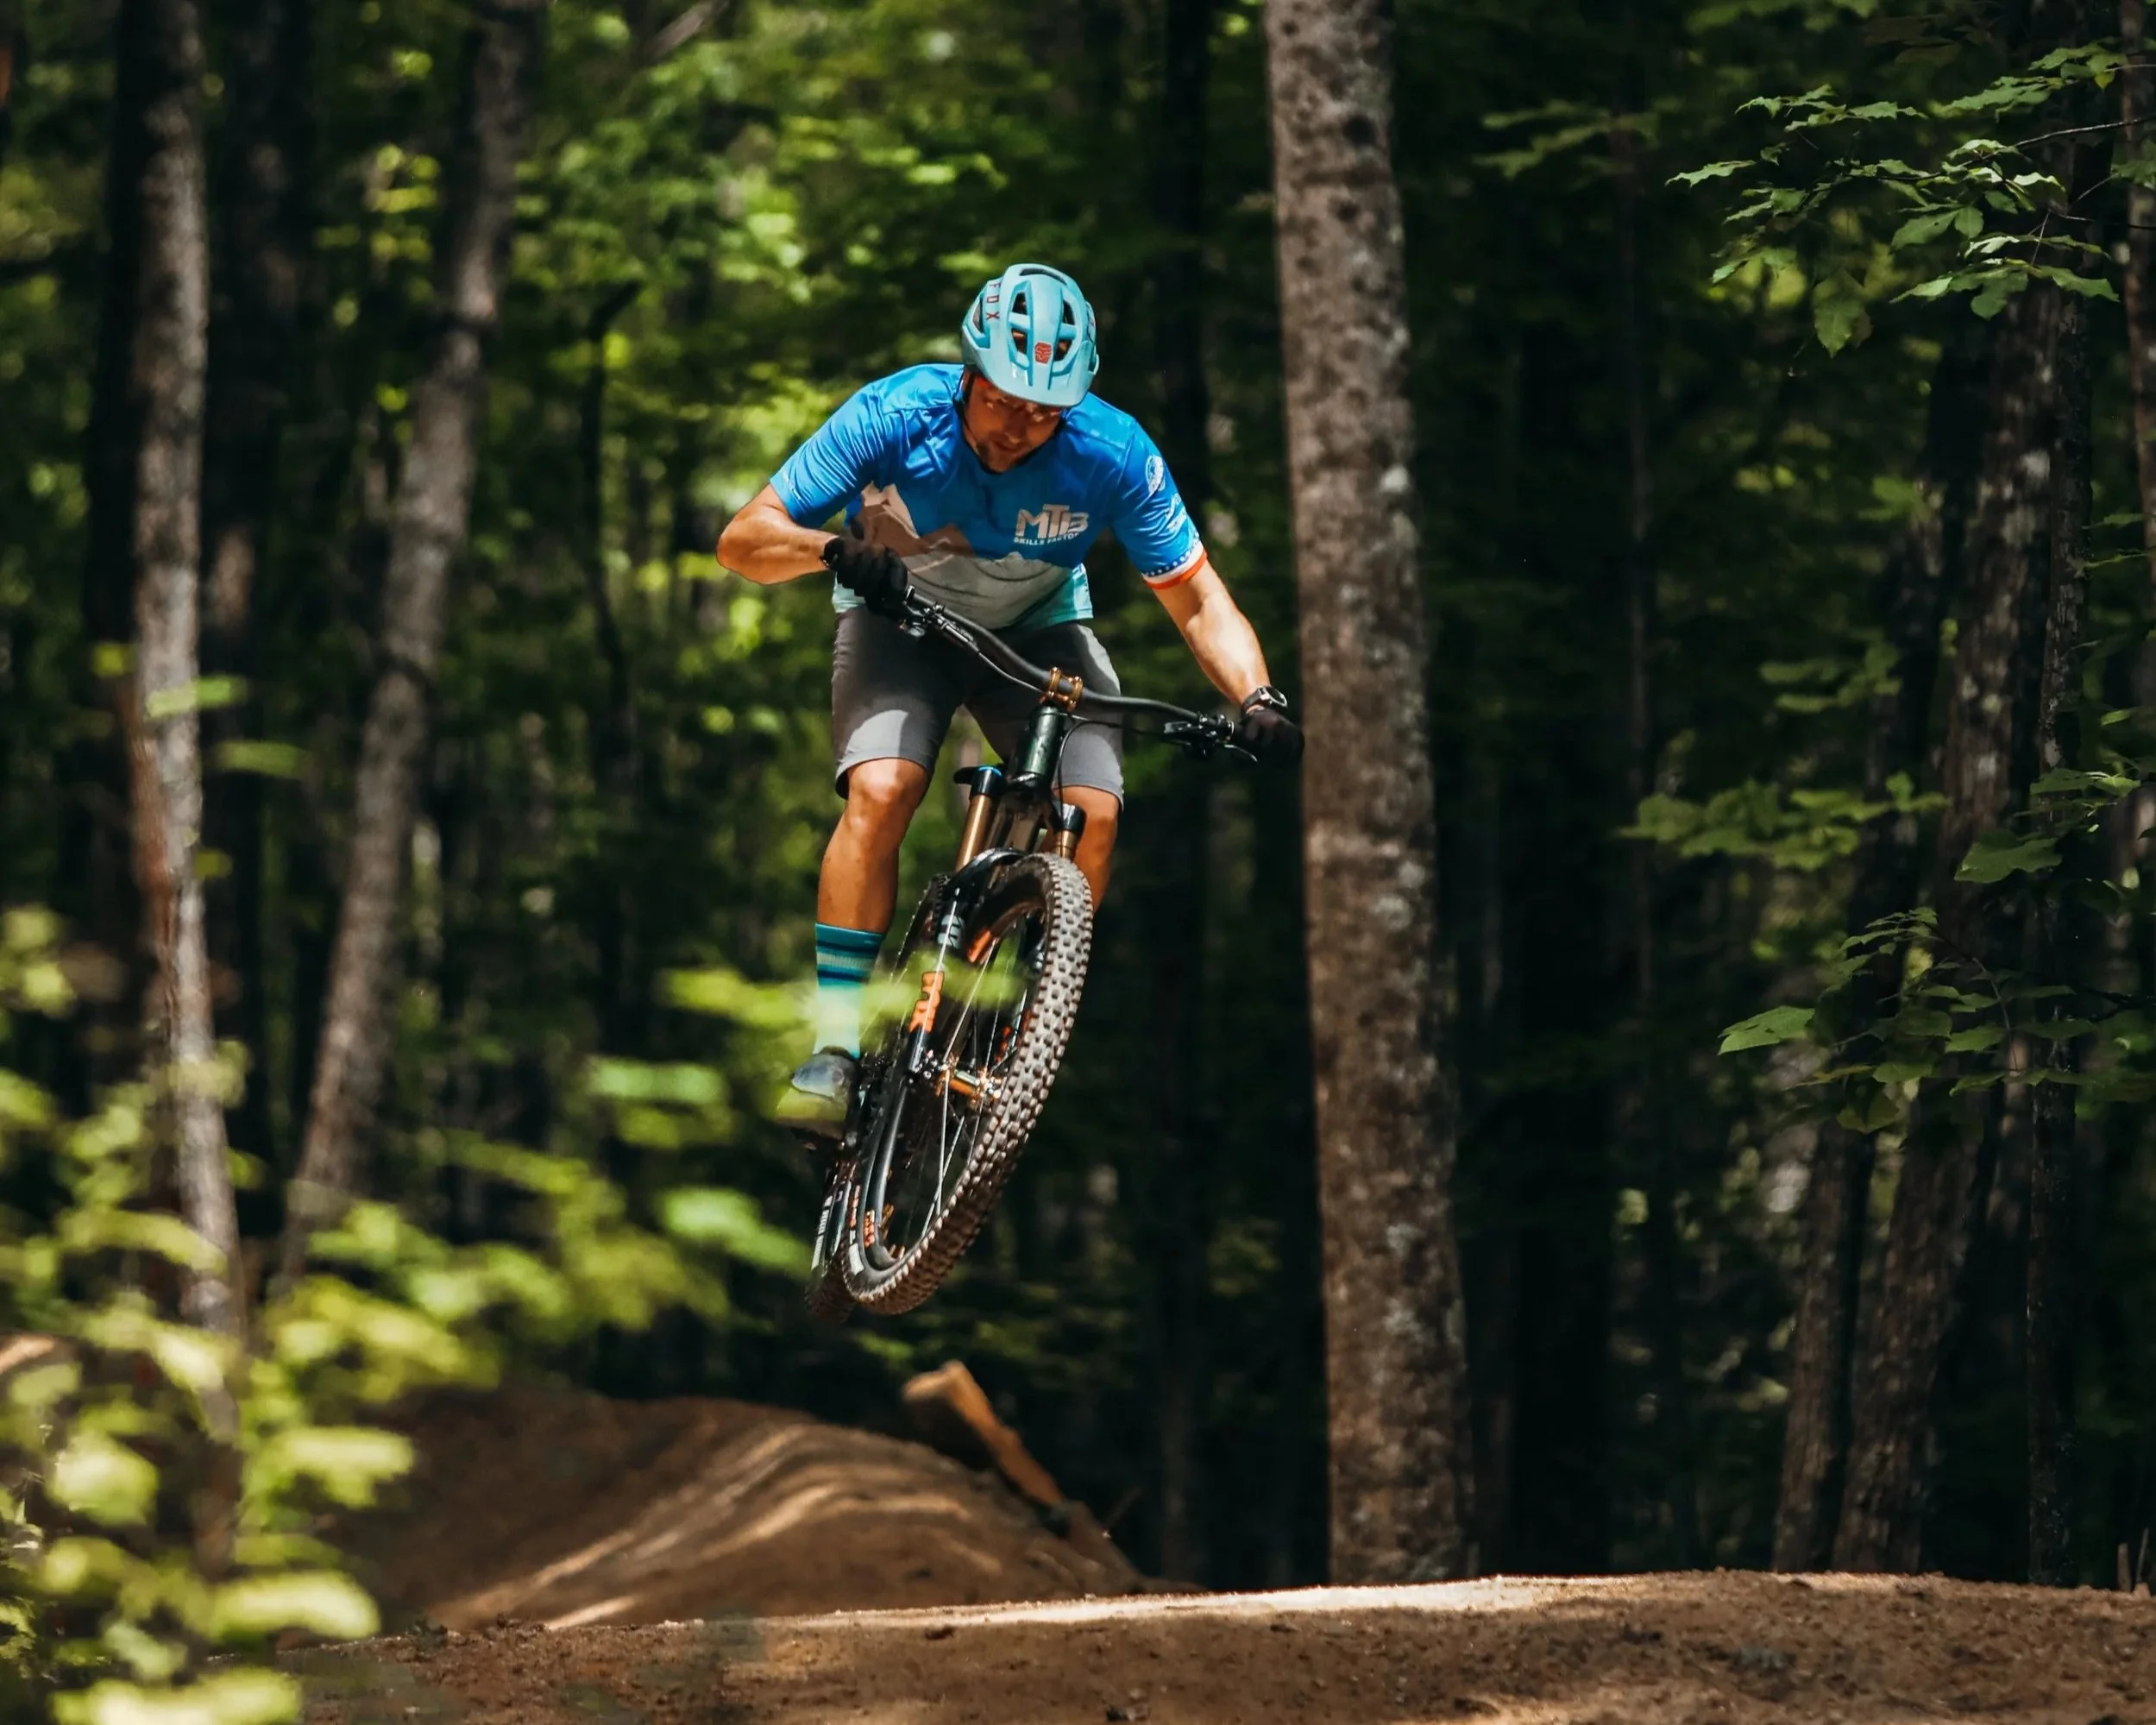
Don’t Rush Air Features: Progress with purpose and ensure your building blocks are solid before you even leave the ground.
Wait until your technique is correct, consistent, and controlled through the progressions before adding speed and risk to minimize your chance of crashing.
One of the most common mistakes we see from riders looking to improve their jumping is leaning too far back during the approach, which loads their rear wheel too much causing them to land nose-heavy, leading to an OTB or a very close call. Yikes.
Learn to Bail: It’s better to ditch the bike than to take a tumble over the front.
As you progress to higher-risk features, learning how to bail to the side or off the back should become second nature. Even for beginner and intermediate riders, bailing is a vital skill—whether you're losing momentum in a rock garden, stalling on a tricky climb, or losing your line on a technical descent.
Practice the choreography in low-risk environments first. Experiment with different variations, such as bailing to either side at different speeds or on varying slopes. Stepping off the bike and regaining control should eventually feel as natural as pedaling, no matter the terrain.
Check In With Your Energy Levels: Hungry, tired, and "checked-out" riders make mistakes.
Bring snacks for when you feel your energy bonk, and be honest with yourself—everyone’s capacity is different. Some days you might feel physically strong but find yourself mentally distracted by the "noise" of life.
Once you decide to head back, stay alert until you actually reach the trailhead. Outdoor Professionals call the final ten minutes of an adventure the "Red Zone" because accidents are far more likely to happen when you're planning dinner instead of picking good lines.
On a similar note, be cautious about hitting a 'stretch zone' feature at the end of a long day. When you are physically and mentally drained, your reaction times can slow and your technique can get sloppy. Attempting a high-stakes move under fatigue drastically shifts the odds against you; sometimes the smartest way to progress is saving that feature for a day when you are fresh and focused.
Service & Dial Your Suspension: Avoid the extremes; settings are personal, but balance is key.
If your rebound is too fast (the "rabbit"), the bike will buck you like a pogo stick. If it’s too slow (the "turtle"), the suspension won't recover for the next bump. Some rear shocks will even have just a lever for open/closed adjustment which can be easily bumped to either extremes, so keep an eye out if you feel like your bike suddenly changes its riding feel.
Neglecting your shock service can lead to lockouts or poor performance, leaving you with a ride that feels like a stiff spring. Treat your suspension gear to regular maintenance—just like an oil change for your car.
Coming Soon: Our Head Coach is partnering with The Hub to offer Premium Suspension Dialing. Instead of "one size fits all approach for set up," we’ll ride with you to dial in settings based on YOU and your riding style, adjusting it as you ride till we find the sweet spot.
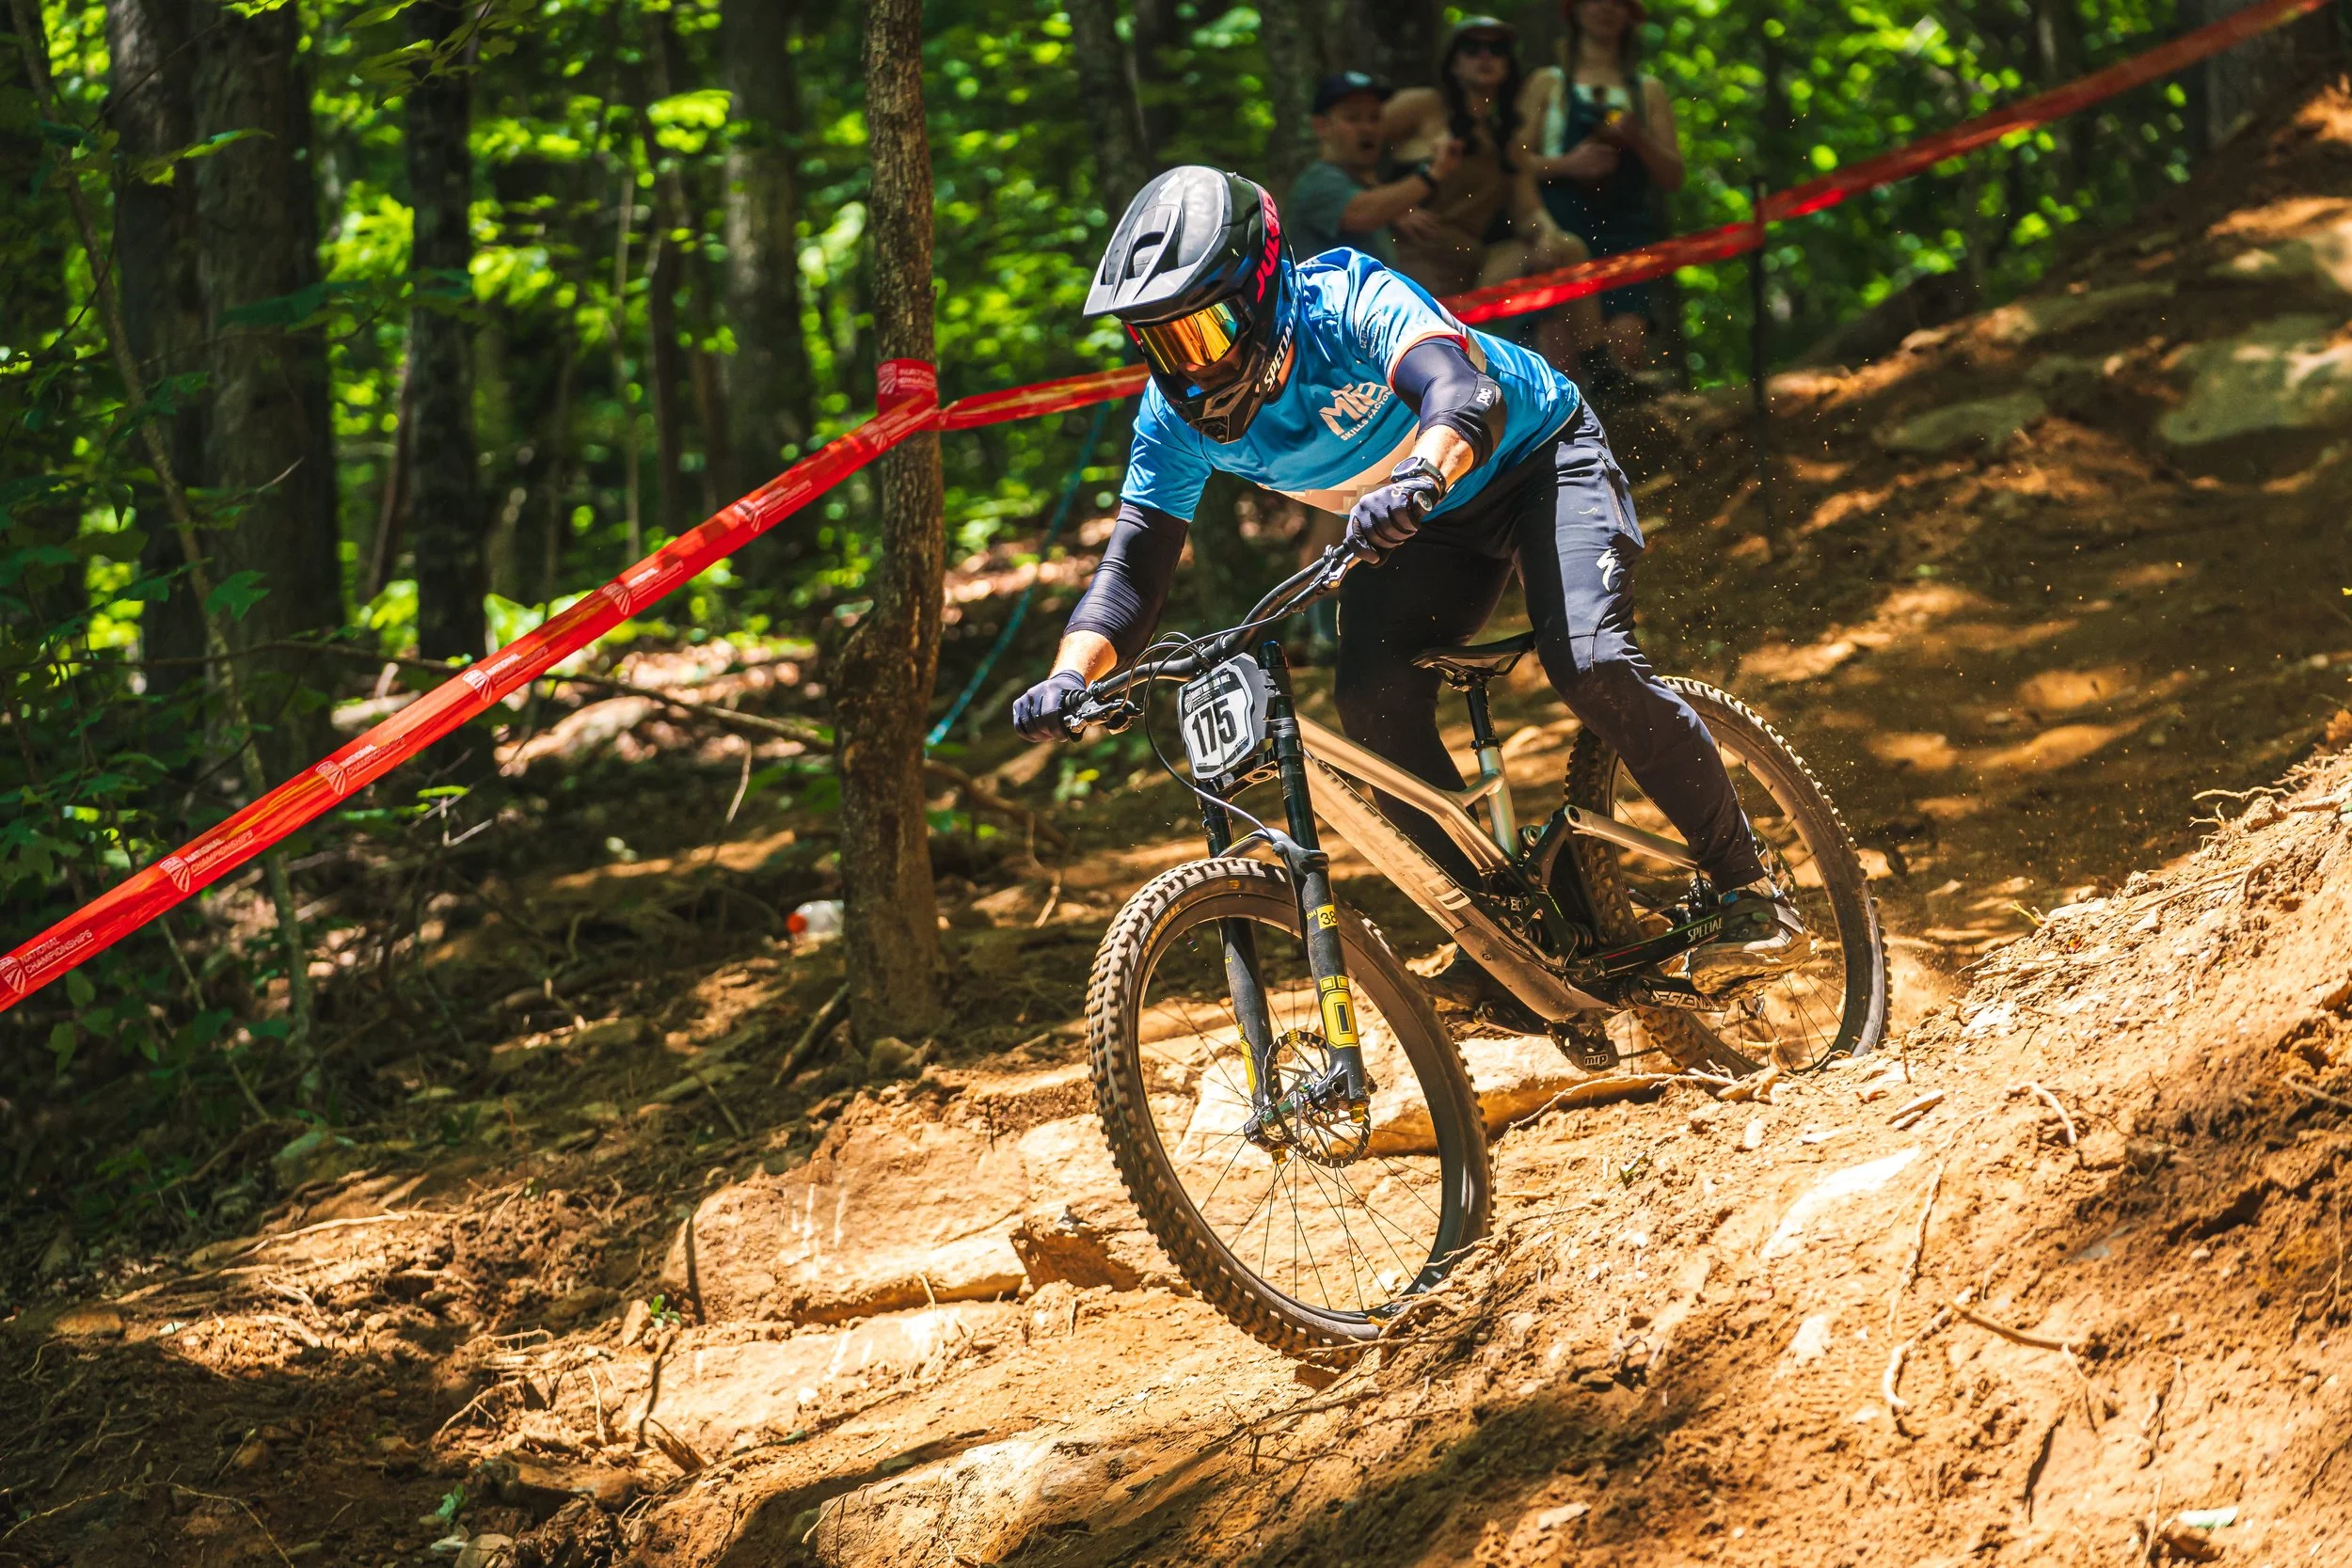
Ride in Control: Remember, you are the driver, not the passenger.
Speed should be a tool, not a hazard; charging in without a plan can lead to panic or push you "over your head," where mistakes happen fast.
That said, momentum is your friend. Many intermediate obstacles require a baseline speed to keep your front wheel from stalling or getting "hung up." If you choose a slower line, you must compensate for that lost momentum with active technique. Use bike-body separation and pressure control to "shove" the bike over the feature—otherwise, the trail will stop your wheel for you.
Want to see this in action? We have a video on our social media demonstrating how to "shove" the bike over ascending obstacles. Message us @mtbskillsfactory and we’ll send it your way!
Dial Your Core and Arm Strength:
Build strength to stay centered on the bike. A strong core complimented with arm strength allows you to remain resilient and overcorrect safely when the trail gets rowdy or pushes you off balance.
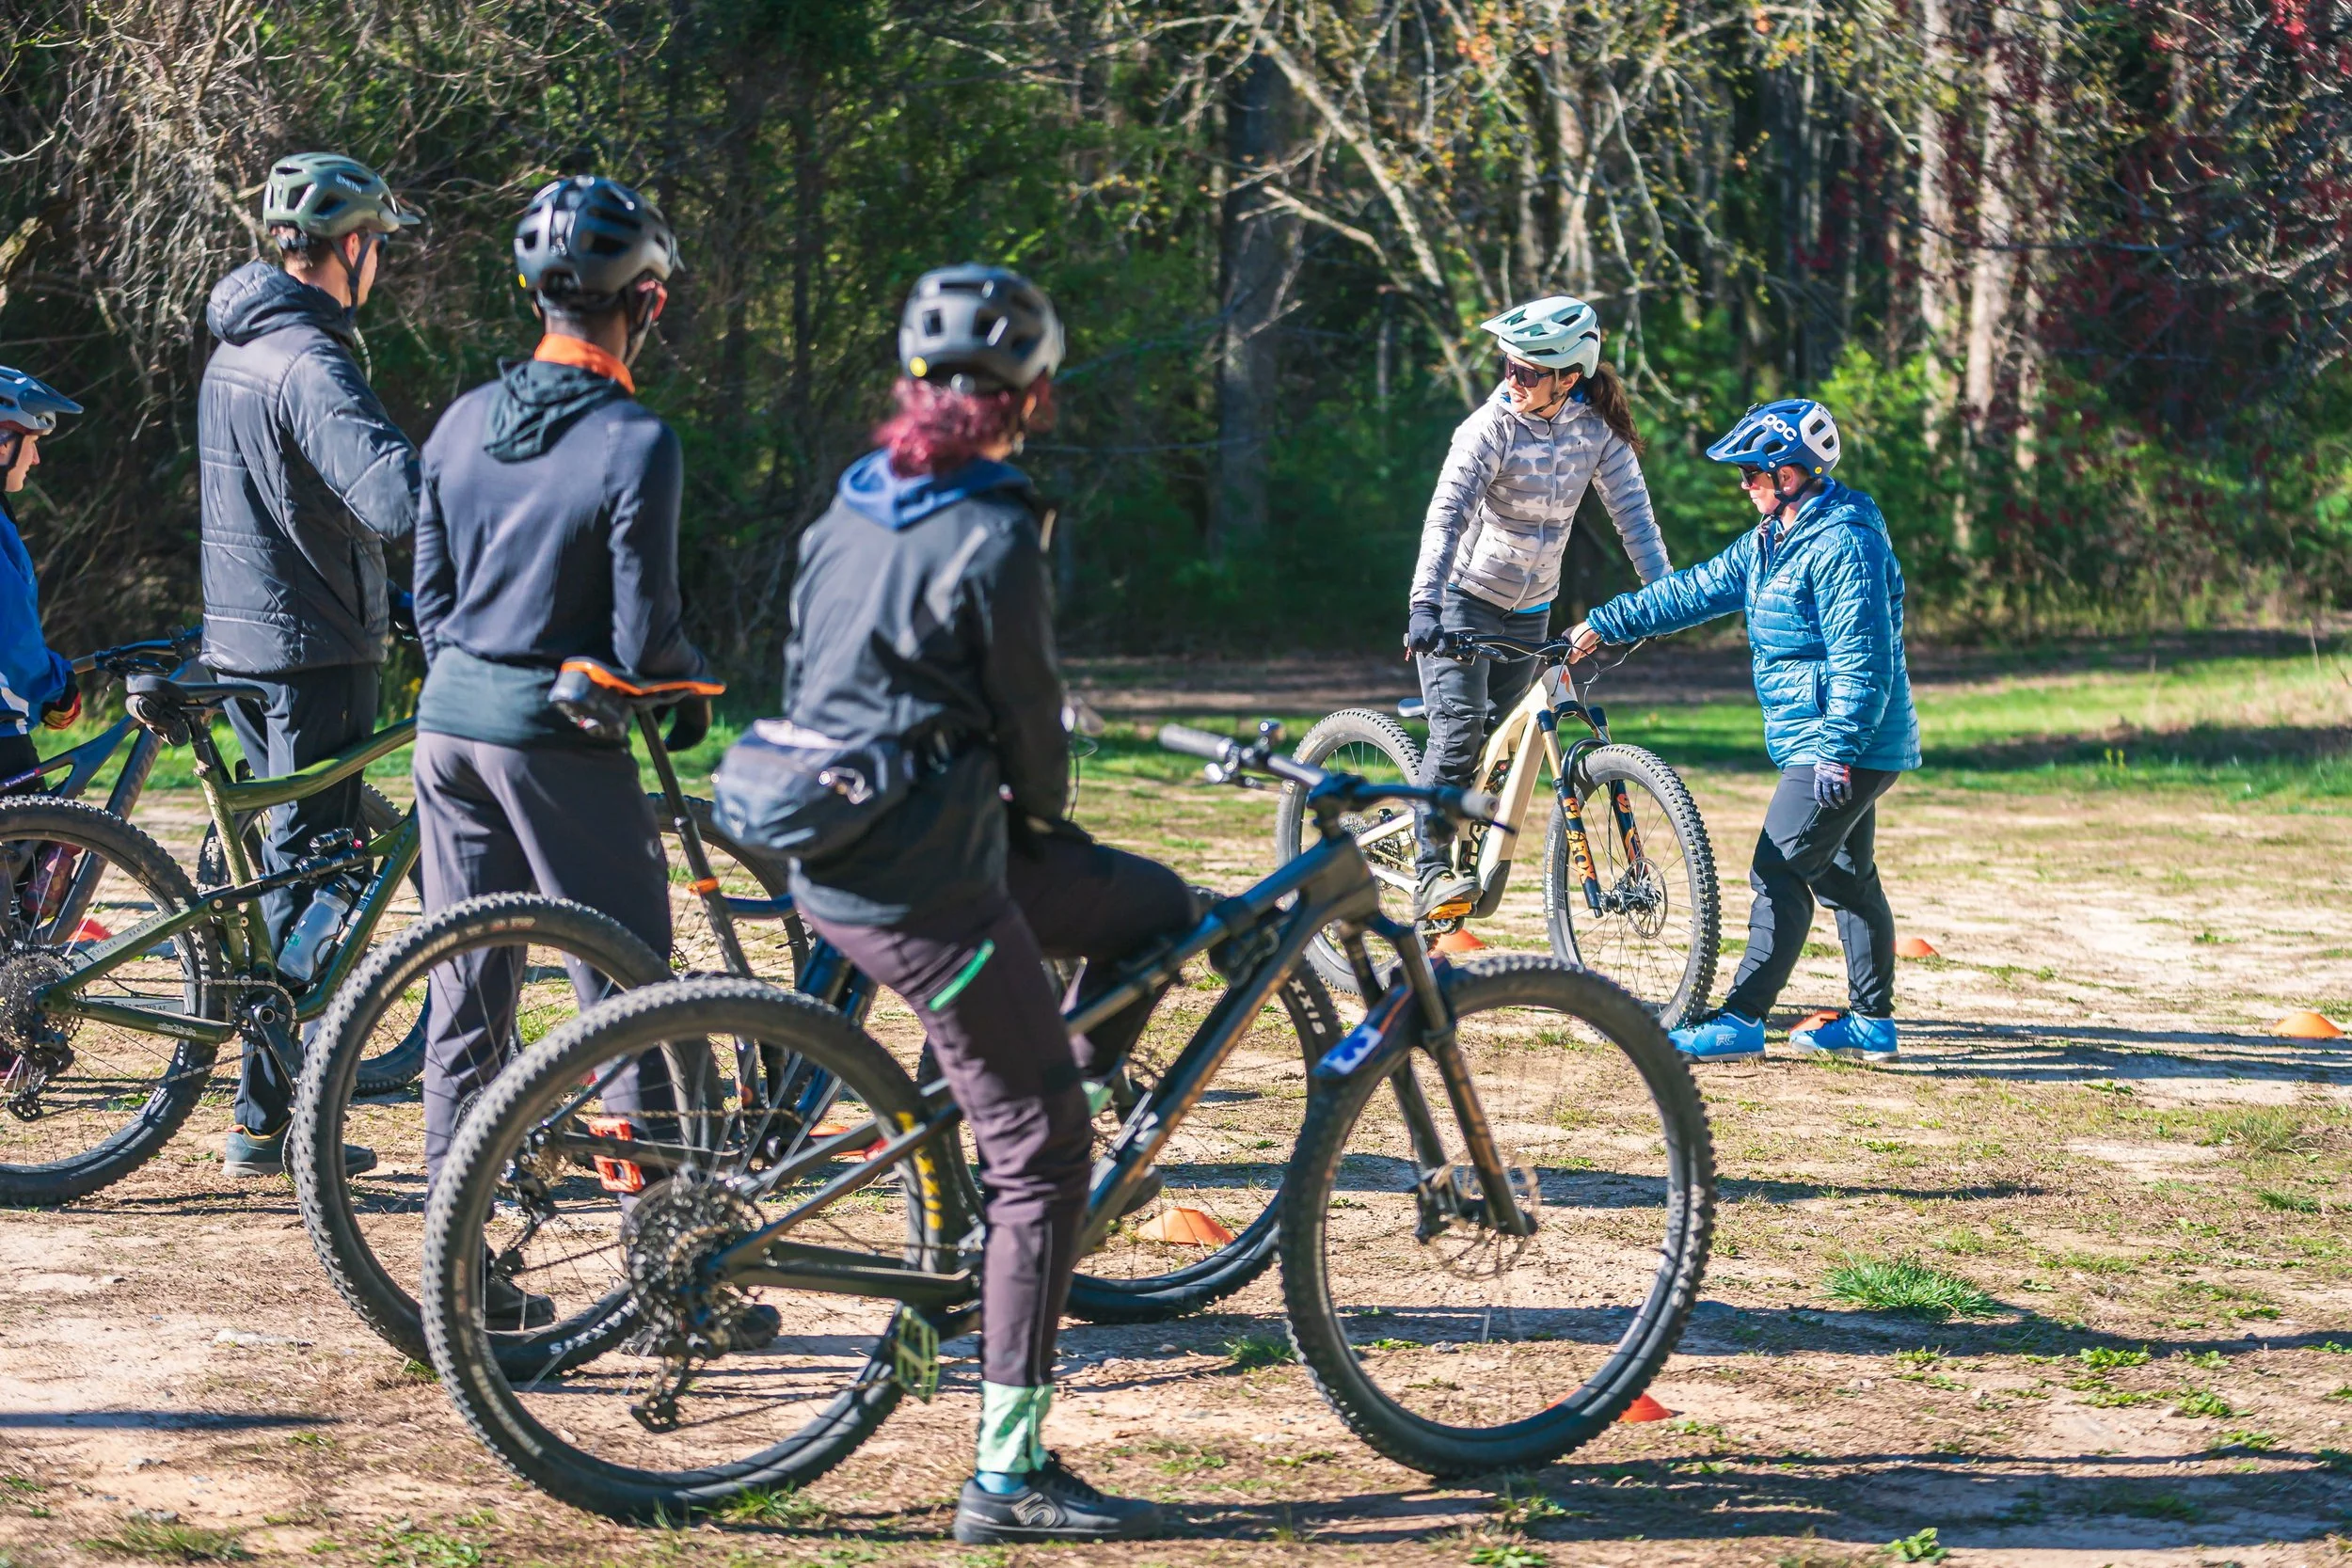
Work with our certified Fitness AND Mountain Bike Coaches who can design programs for your riding goals.
Don’t let your strength keep you from using your skills correctly!
Your Mind is a Skill: Growth happens when your technical skills and self-trust evolve together.
Training your brain helps you stay calm so you can respond with intention rather than panicking when things get technical or move outside your comfort zone.
Build the necessary "building blocks" to support your riding. This way, when you ask yourself if you’re ready for a new feature, you have concrete evidence of your ability rather than just a guess.
Mountain biking requires full presence. If you’re holding back, your body isn't fully committed to the movement. It’s okay to have days where you walk a feature you normally ride or it takes months to do a feature you ‘should’ be able to do —that’s part of the process. The goal isn't to ignore your fear, but to ensure your decisions are based on the skills you’ve mastered rather than the doubts you're feeling. Trust your preparation; you are a product of your own beliefs.
Use a Dropper Post:
As our XC & gravel racers remind us, while not strictly a necessity, lowering your center of gravity and allowing for more range of motion to respond to the terrain can significantly help prevent the bike from knocking you off balance in technical sections.
Practice Good Body Positioning & Wedge Your Ready Position:
Keep your mass centered. Think about your stability if you are in a squat versus leaning forward, which one are you more stable?
To Wedge & Brace Your Ready Position: Drop your heels to dig your weight into the pedals. This "heavy feet, light hands" approach keeps your weight off the bars. Think of pushing the pedals apart. We don’t mean to have weak arms though, just don’t death grip the arms or lean too far forward. Strong arms + heavy feet allows you to create a wedge of pressure between the bars and the pedals -> locking in you in place throughout all the rowdy lines. In summary, this setup anchors you into the bike rather than just sitting on top of it—keeping you centered even when the trail tries to buck you OTB.
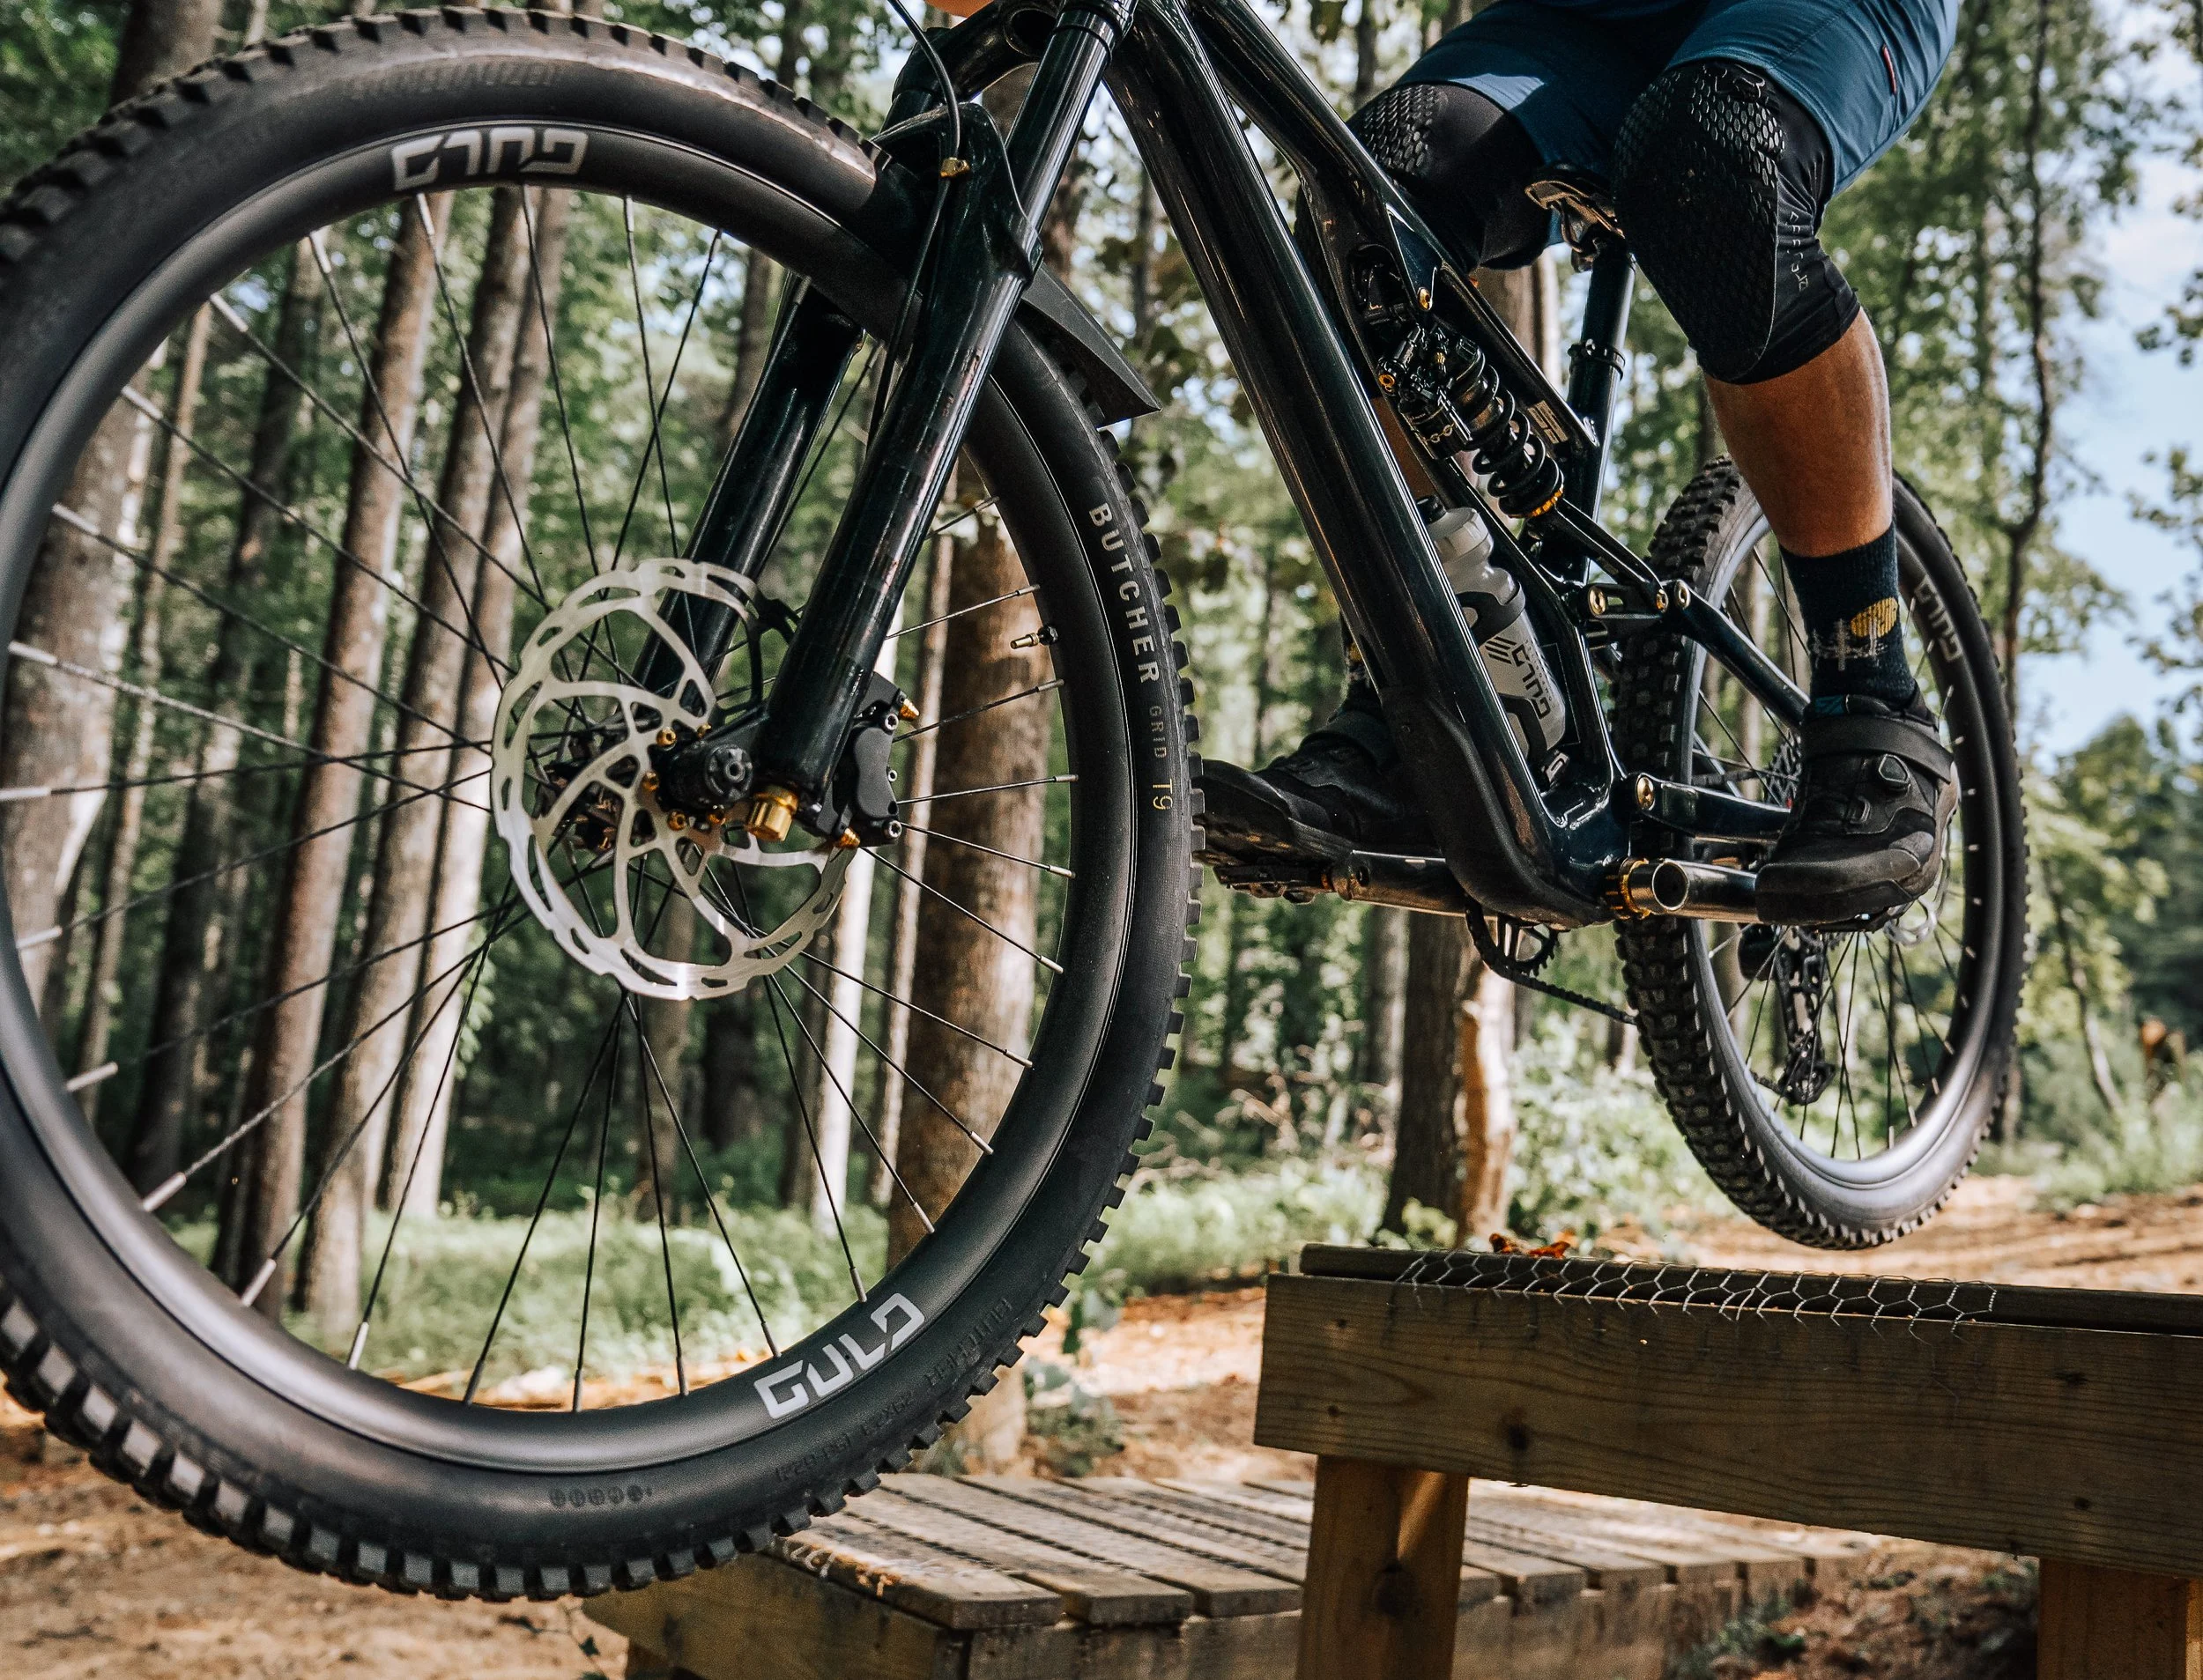
Keep the PSI low: Don't over-inflate your tires.
Hard tires bounce off obstacles, whereas lower pressure allows the rubber to absorb bumps and maintain traction. This is why tubeless set ups are an advantageous upgrade for mountain bikers, though tubes are fine just don’t pump them up to 40+ PSI for the trail.
Safety First: Before you head out, ensure your helmet is less than five years old and free of major impacts. Always check that your bike is in safe working order, and consider wearing knee pads and gloves for that added layer of protection and peace of mind.
At the end of the day, you can follow every tip and still find yourself on the ground. Mountain biking is inherently risky, and you can’t control every variable. But that is exactly where the thrill is born—it’s the total focus the sport requires that draws us in, and for many, the reward is simply the triumph of conquering the trail in one piece.
We love this sport, even in the moments that feel scary or hurt, because it’s worth every second of joy and freedom we feel on every ride.
Be safe out there and get after it!