Everything You Need to Know to Start Mountain Biking (And Stay With It)
Getting into mountain biking can feel completely overwhelming. Between the technical jargon, the specialized gear, and the sheer number of things you’re told you need, it’s easy to feel stuck before you even hit the dirt.
This isn't a cheap sport to enter, but here is the silver lining: once you make that initial investment and get past the learning curve, you are set for a long time. This guide is designed to help you navigate the gear, the trails, and the skills so you can stop worrying and start riding.
1. The Bike: Your Biggest Decision
New vs. Used
You don’t need a brand-new bike to ride, but you do need a safe one. If you buy a used bike that hasn't been looked over recently, take it to a local bike shop for a "once-over." Bikes have parts that wear out over time whether they are being used or just sitting in a garage.
The Tech Gap: Bike components have improved drastically over the years—notably, powerful hydraulic disc brakes and tubeless setups.
The "Sitting" Risk: Bikes that have sat for years typically have dry-rotted tires or rusty parts. Sometimes, a "cheap" or old used bike needs more repairs than it’s actually worth. Your local shop can guide you through this.
Hardtail vs. Full Suspension
Hardtail: (Front suspension only). Usually more affordable and teaches you "clean" line choices. Look for one with disc brakes. If you can afford one upgrade, make it a dropper post. Being able to lower your seat with a button for descents is the single biggest confidence booster in the sport. You can save up for later upgrades like wider tires (2.4 or 2.5 width) or a tubeless setup for more "natural" suspension.
Full Suspension: (Suspension in front and rear). More forgiving on your body and has a shorter learning curve. It will come stock with the advantageous dropper post & tubeless set ups. However, keep in mind that more complexity means higher maintenance costs; like a high-end car, having more components means more parts to service over time.
We Recommend: Saving up for a new entry - mid level full suspension bike with travel between 110-140 for a “do it all” bike that will be ready to grow with you.
2. The Essential Gear
The Helmet (Non-Negotiable)
Your helmet must be under five years old (the foam degrades over time) and MTB-specific.
The Fit: It should cover the back of your head and sit halfway down your forehead. If it wobbles after you tighten the dial, it’s the wrong size. Expect to spend $55+ for a quality, certified helmet.
The "Foundation": Shoes and Pedals
Your feet are your primary contact point with the bike.
Shoes: MTB shoes have flat, hard soles with "gummy" rubber to grip the pedals, they are also called flats. Vans or skate shoes are built very similarly and work well. Any tennis shoe is fine, but specialized soles ensure your feet don't slip off through bumps.
Clipless: While less common in the mtb, some riders prefer "clipping" their shoes into the pedals, especially those who are into racing. We generally recommend just sticking with flat pedals for most riders for the ease of dismounting. However, if you have a background in XC or road cycling, MTB-specific clipless shoes and pedals are a great option. Our Head Coach, Josh Whitmore, rides clipless!
Pedals: Most new bikes come without pedals these days. We strongly recommend spending the extra $15–$20 to upgrade to metal pedals with pins instead of plastic pins. They provide a "bombproof" connection that helps prevent your shins from meeting the pedals unexpectedly—ensuring the upper middle of your feet connect with the pedal helps this too.
Gloves
In the beginning, you might tumble. Gloves protect your palms from scrapes and improve your grip when things get sweaty. Even a pair of gardening gloves will work in a pinch!
3. The "Uniform" (Apparel & Protection)
MTB Specific Clothing
Every outdoor sport has its "uniform" for both function and culture. Not necessary, but absolutely helpful.
Longer Baggy Shorts: Mountain bikers typically wear longer shorts to account for the "ride up" that happens while pedaling. They offer freedom of movement and allow room for knee pads and padded undershorts. At its core, the sport can feel a bit "bro-y," and these loose shorts definitely represent that culture.
Padded Shorts (Chamois): Some riders swear by them; others claim they make it worse. Adjusting to a small saddle can be uncomfortable, and these can help lessen the intensity while your body adapts.
Technical Layers: Slowly build out your riding kit to include these items to add or subtract based on the weather: sunshirt, lightweight rain jacket, riding jersey, windbreaker, and merino wool socks.
Glasses: Protect your eyes from debris. Sunglasses work just fine, but performance glasses are preferred for ease in adapting to changing light, staying on during bumpy terrain, and not fogging up.
Get a fender for your front tire to significantly reduce the amount of debris and dirt from flying up towards your face. This is a cheap and easy, but infinitely worth it upgrade.
Knee Pads: Pads provide peace of mind and ensure a small tumble doesn't keep you off the bike for weeks.
4. The Toolkit
Visit your local bike shop to get set up with a "Flat Kit." You don't need to be an expert, but spend some time on YouTube learning the basics.
Tube: Specifically for your tire size.
Inflation: Hand pump or CO2 canister with a deployer.
Tire Levers & Multi-tool: Ensure the tool has Allen wrenches.
Mini-med Kit: For you or anyone else on the trail.
5. Transporting Your Bike
Unless you have a large vehicle where you can shove the bike in the back (after removing the front wheel), you'll need a rack.
Trunk Rack
+ Usually the cheapest option.
+ Best for vehicles without hitches.
- Difficult to access your trunk when in use.
- Bikes may sway and bump into each other.
- Generally not as sturdy as other options.
Hitch Rack (Tray Style)
+ Most popular and sturdiest rack type.
+ Very easy to load and unload.
+ Each bike has its own dedicated space.
- Can be very expensive.
- Makes the car much longer and is bulky/heavy to store.
Hitch Rack (Hanging Style)
+ More affordable than tray styles.
+ Much smaller and easier to store.
- Challenging to use with full-suspension frames.
- Bikes may swing and touch during transit.
Roof Rack
+ Affordable option.
+ Makes your car look very outdoorsy.
- Requires lifting the bike over your head.
- Clearance issues (don't drive into your garage!).
- Can be difficult to line up and secure.
Truck Bed Rack
+ Very sturdy mounting system for lots of bikes.
+ Doesn't make the car any longer.
- Takes up the majority of your truck bed space.
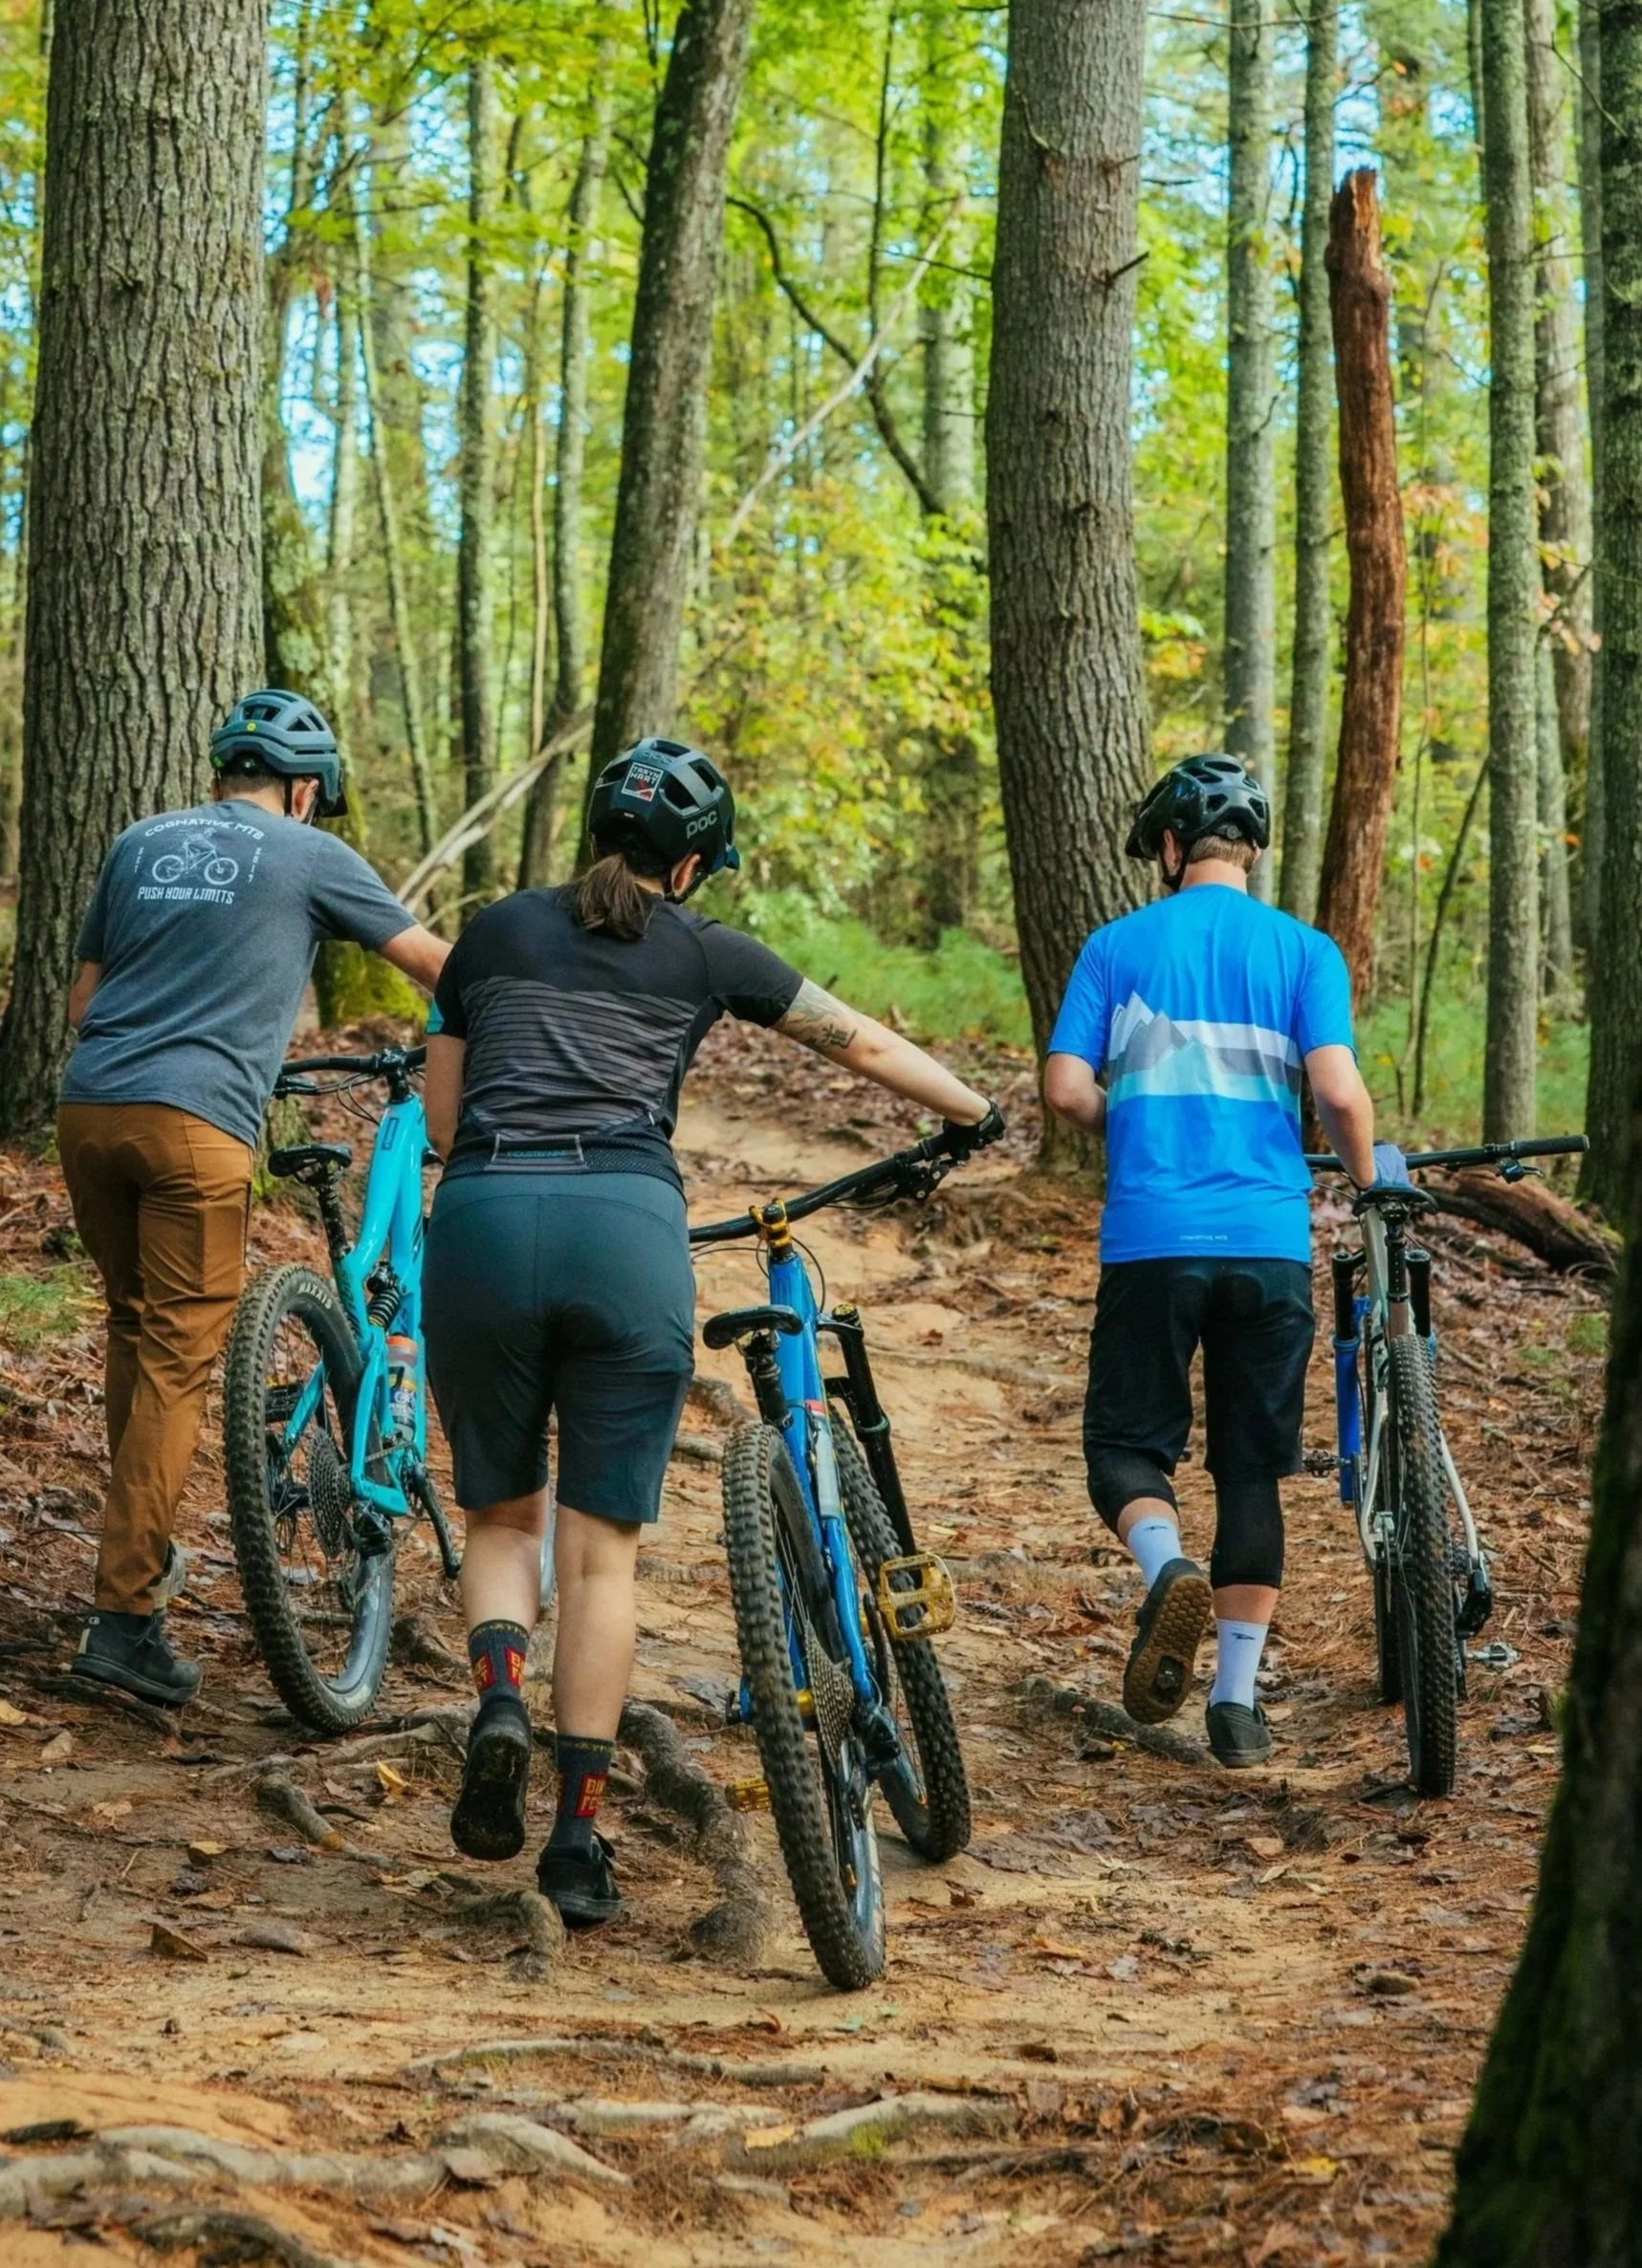
6. Your First Trail: The Journey
Don't go in on blind faith. Research your local trails using MTB Project or Trailforks.
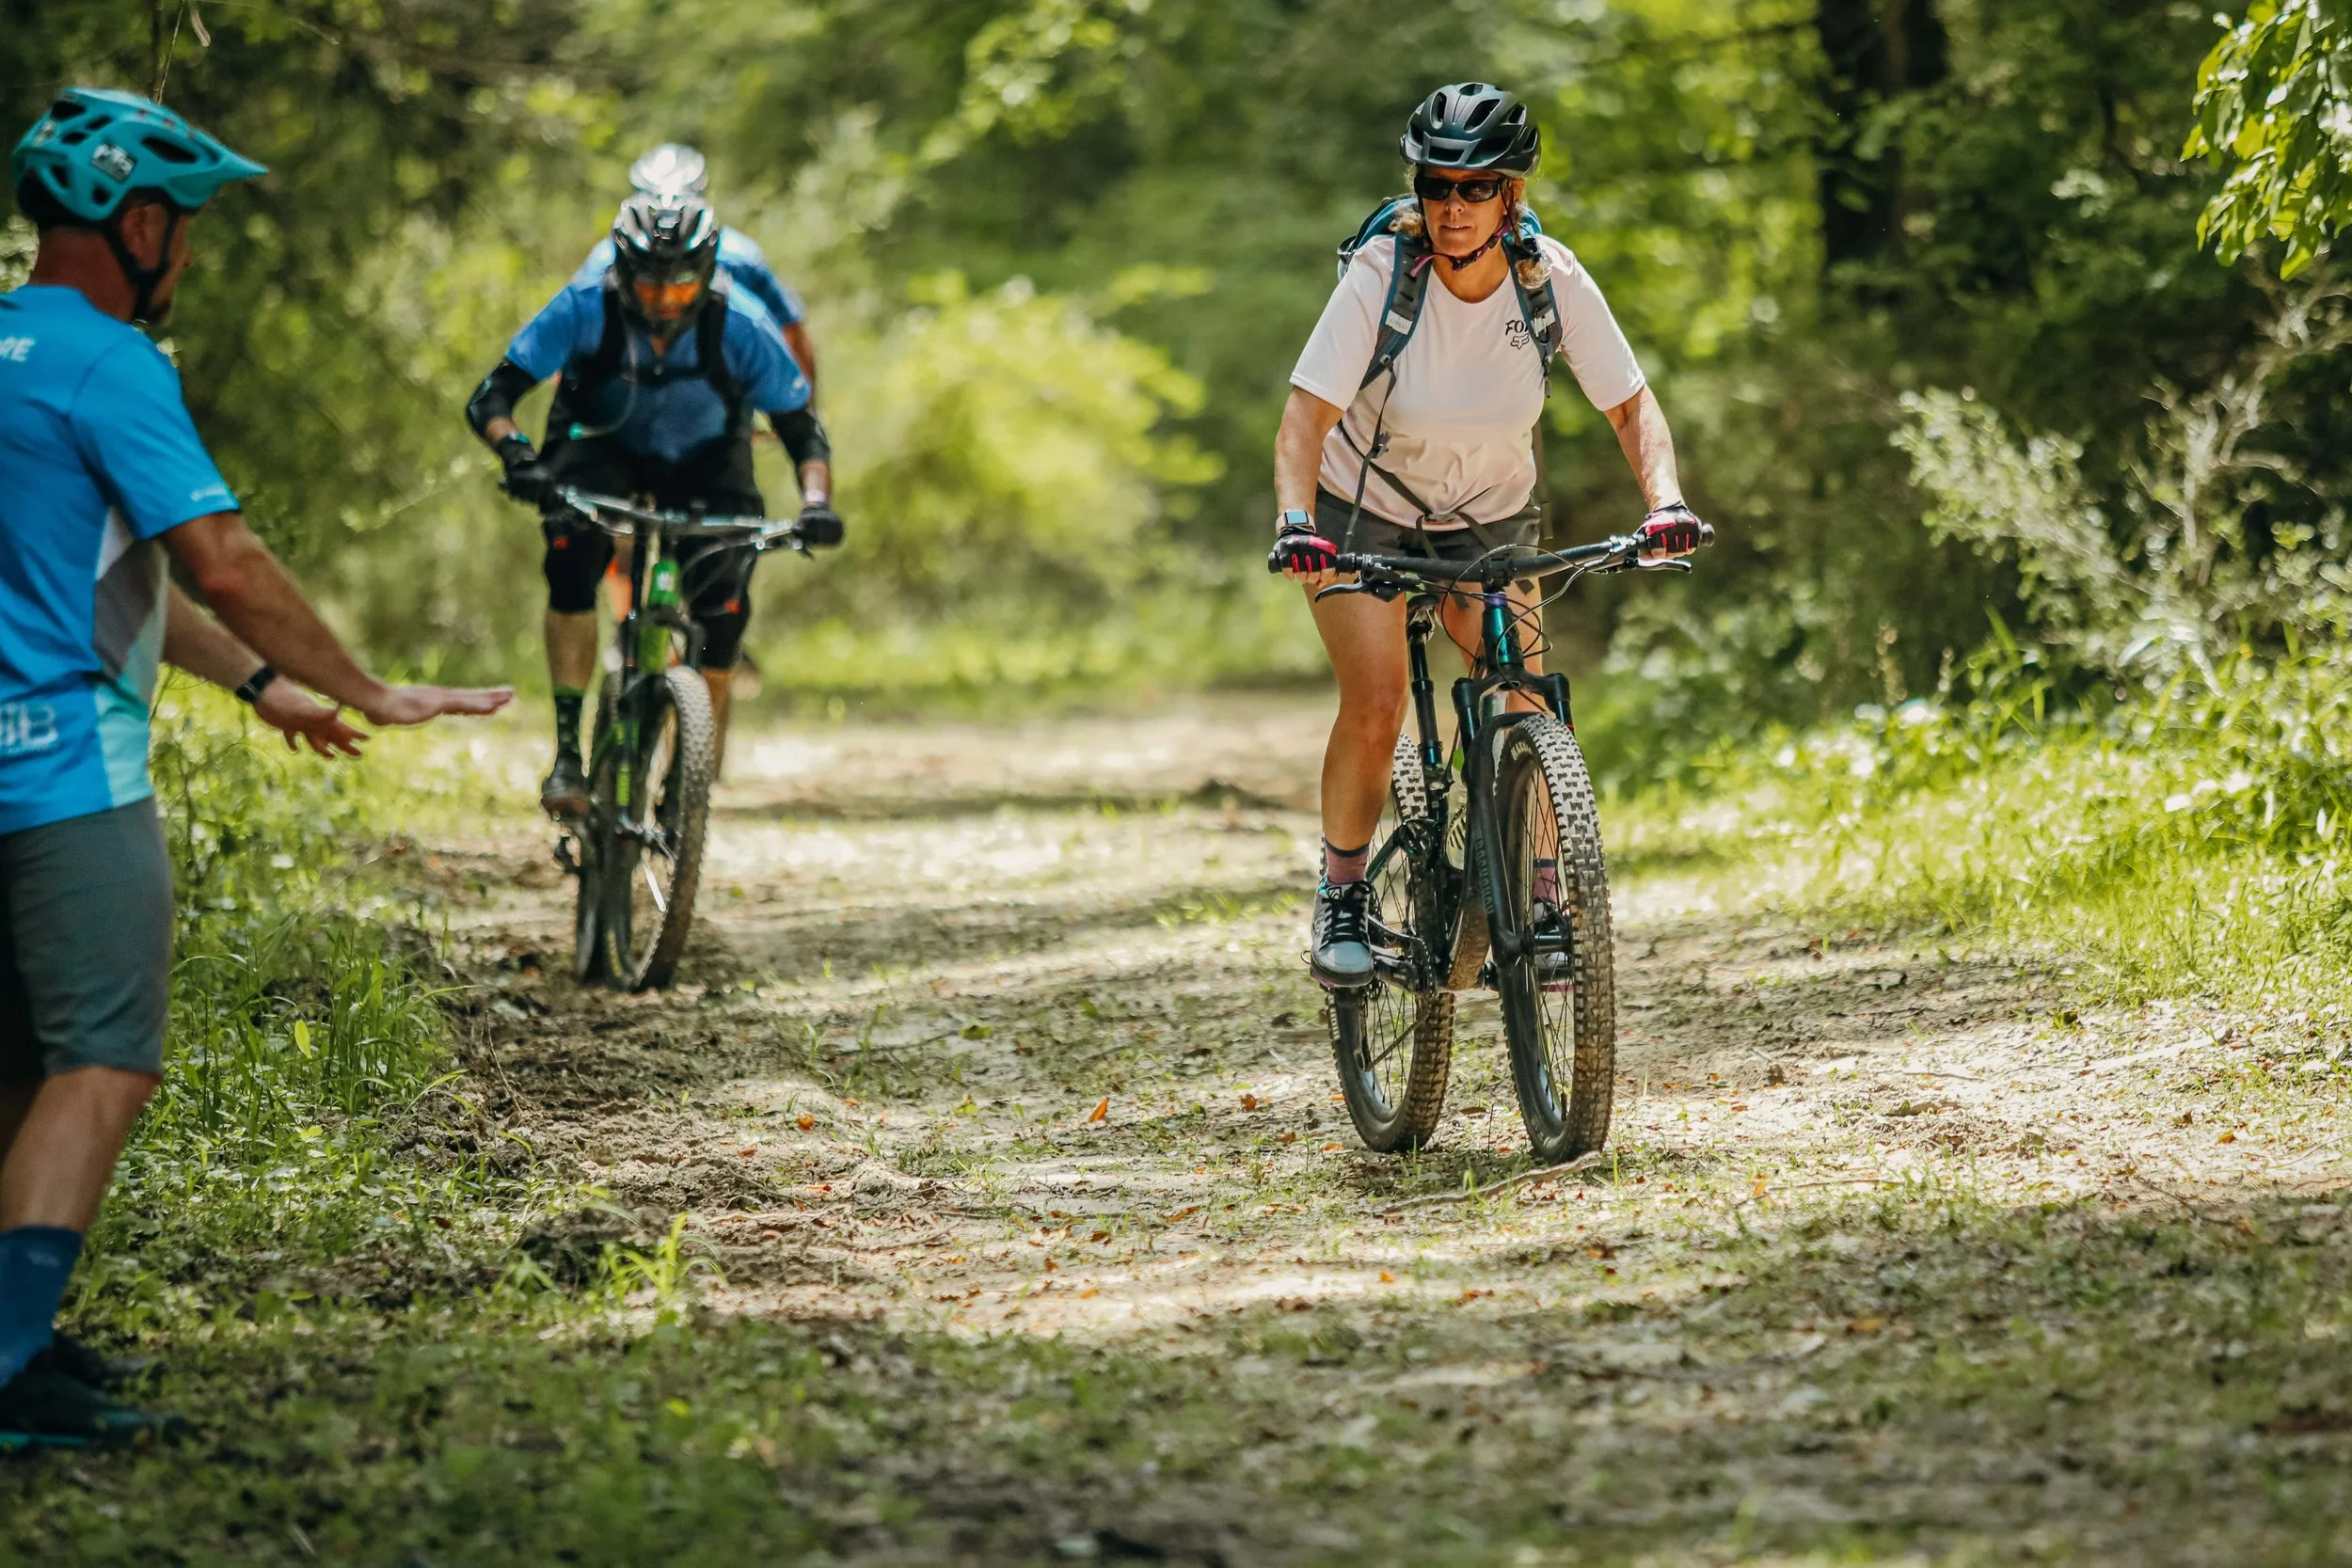
Stop by a shop and ask for beginner-friendly spots or ask your local coaching service, like us!
Look for "Green" or "Double Track": Double tracks (old logging or forest roads) are perfect for getting comfortable with shifting, braking, and body positioning without worrying about steering and balance yet. Green trails typically are smooth, but they could still have turns and elevation changes—give yourself grace if you encounter something you aren’t ready for yet; walking is always okay.
Plan Ahead: Review your route, charge your phone, check your tire pressure, and bring electrolytes if it's hot. Maybe don’t pick the most popular trail on a beautiful Saturday morning if it’s your first ride, remember, we want it to be low pressure. Tell someone where you are going.
7. Etiquette
Yielding: Bikes yield to hikers and horses. If you see a horse, dismount and give them plenty of space.
Passing: If a faster rider catches you, don't panic! Find a safe spot to pull over and let them by. You belong on the trails, too!
Leave No Trace: If the trails are muddy enough to leave a deep rut, they are too wet to ride. No banana peels thrown into the forest, please.
8. On-Trail Skills to Practice
Before you hit the dirt, spend time in a parking lot getting to know your controls.
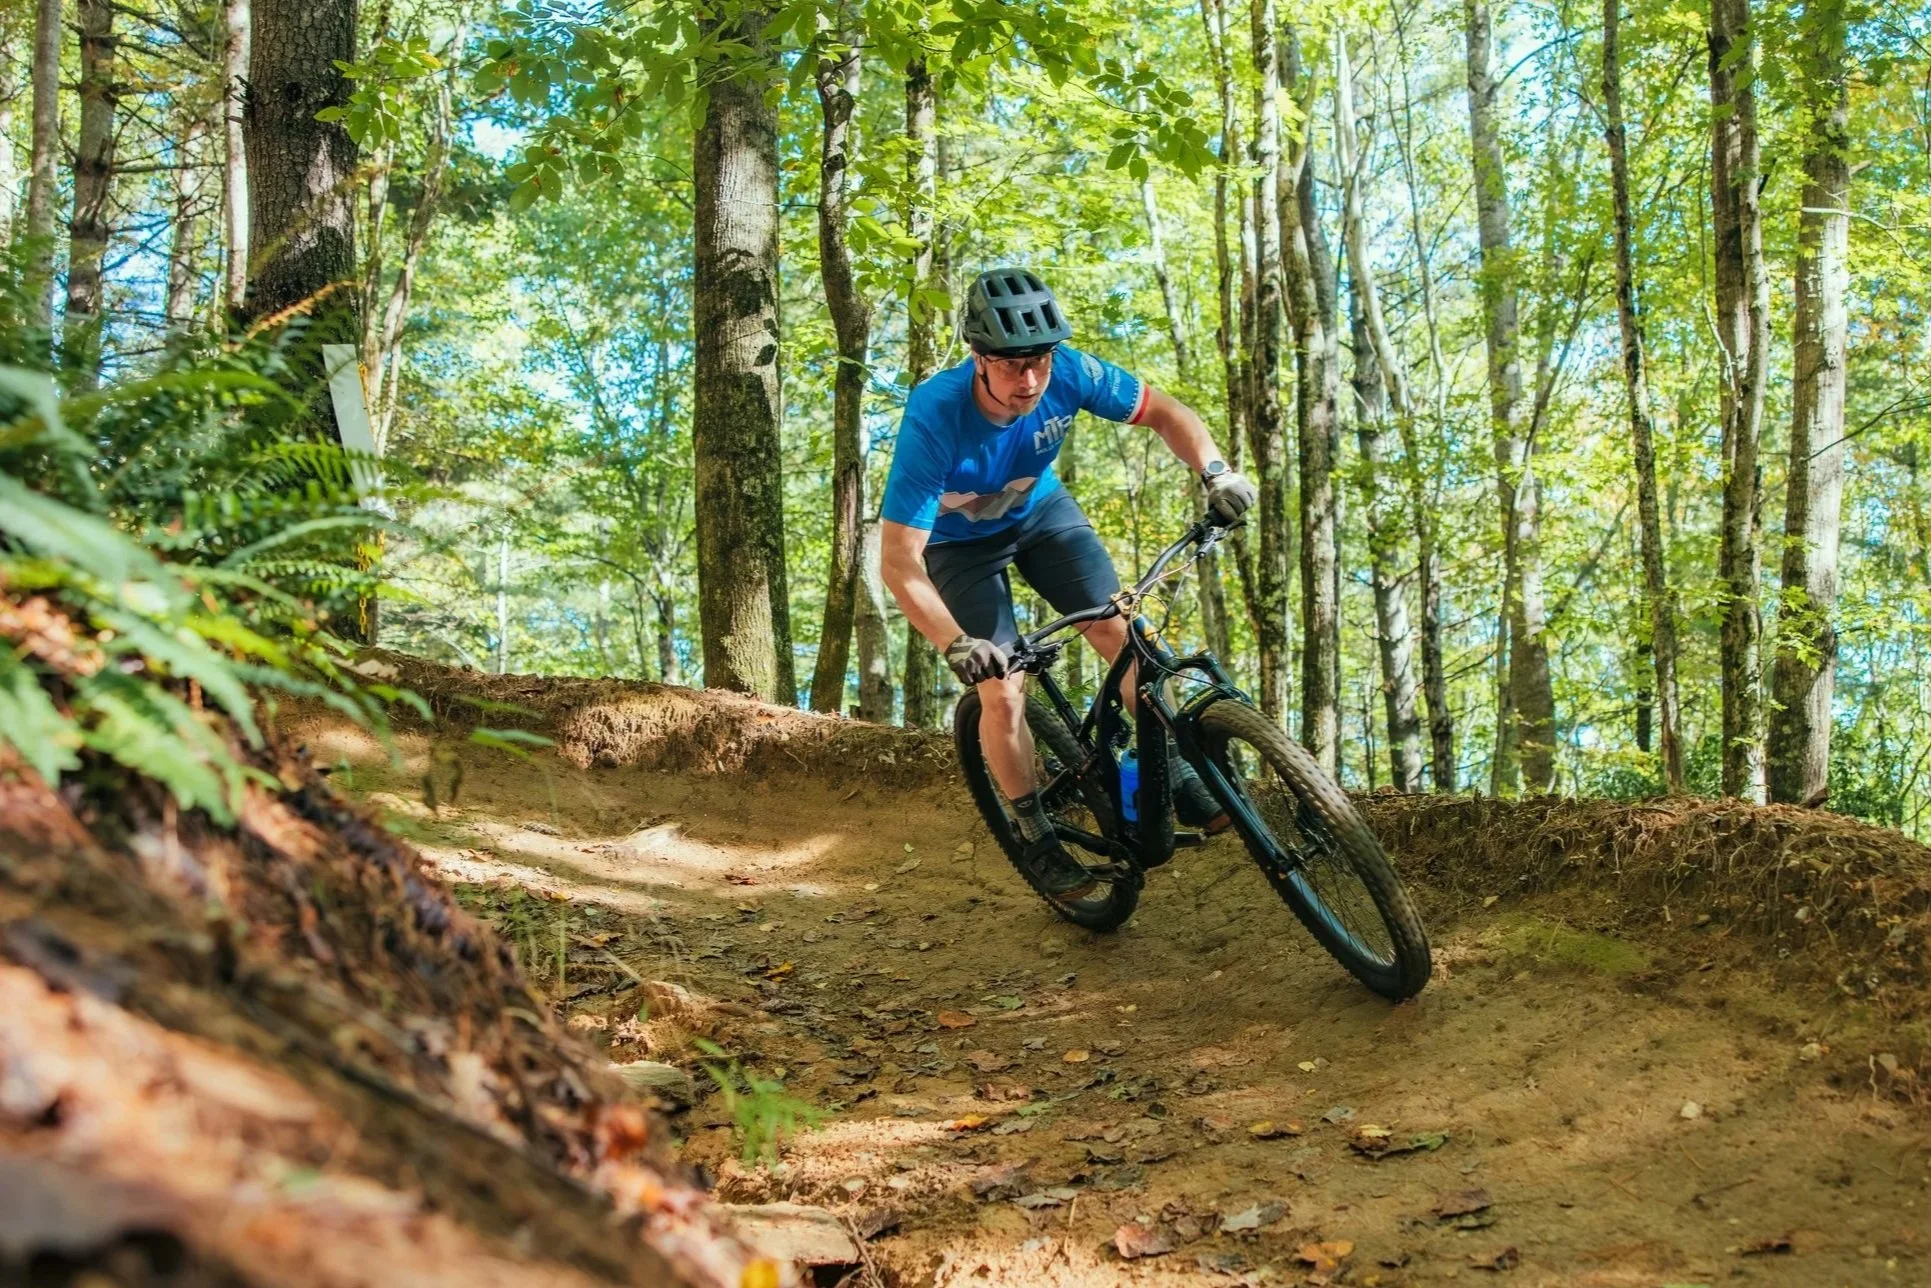
The Ready Position: Stand up out of the saddle ->
elbows slightly bent
hinge at the hips
knees slightly bent
look ahead
cover the brakes
You will use this position when descending or coasting.
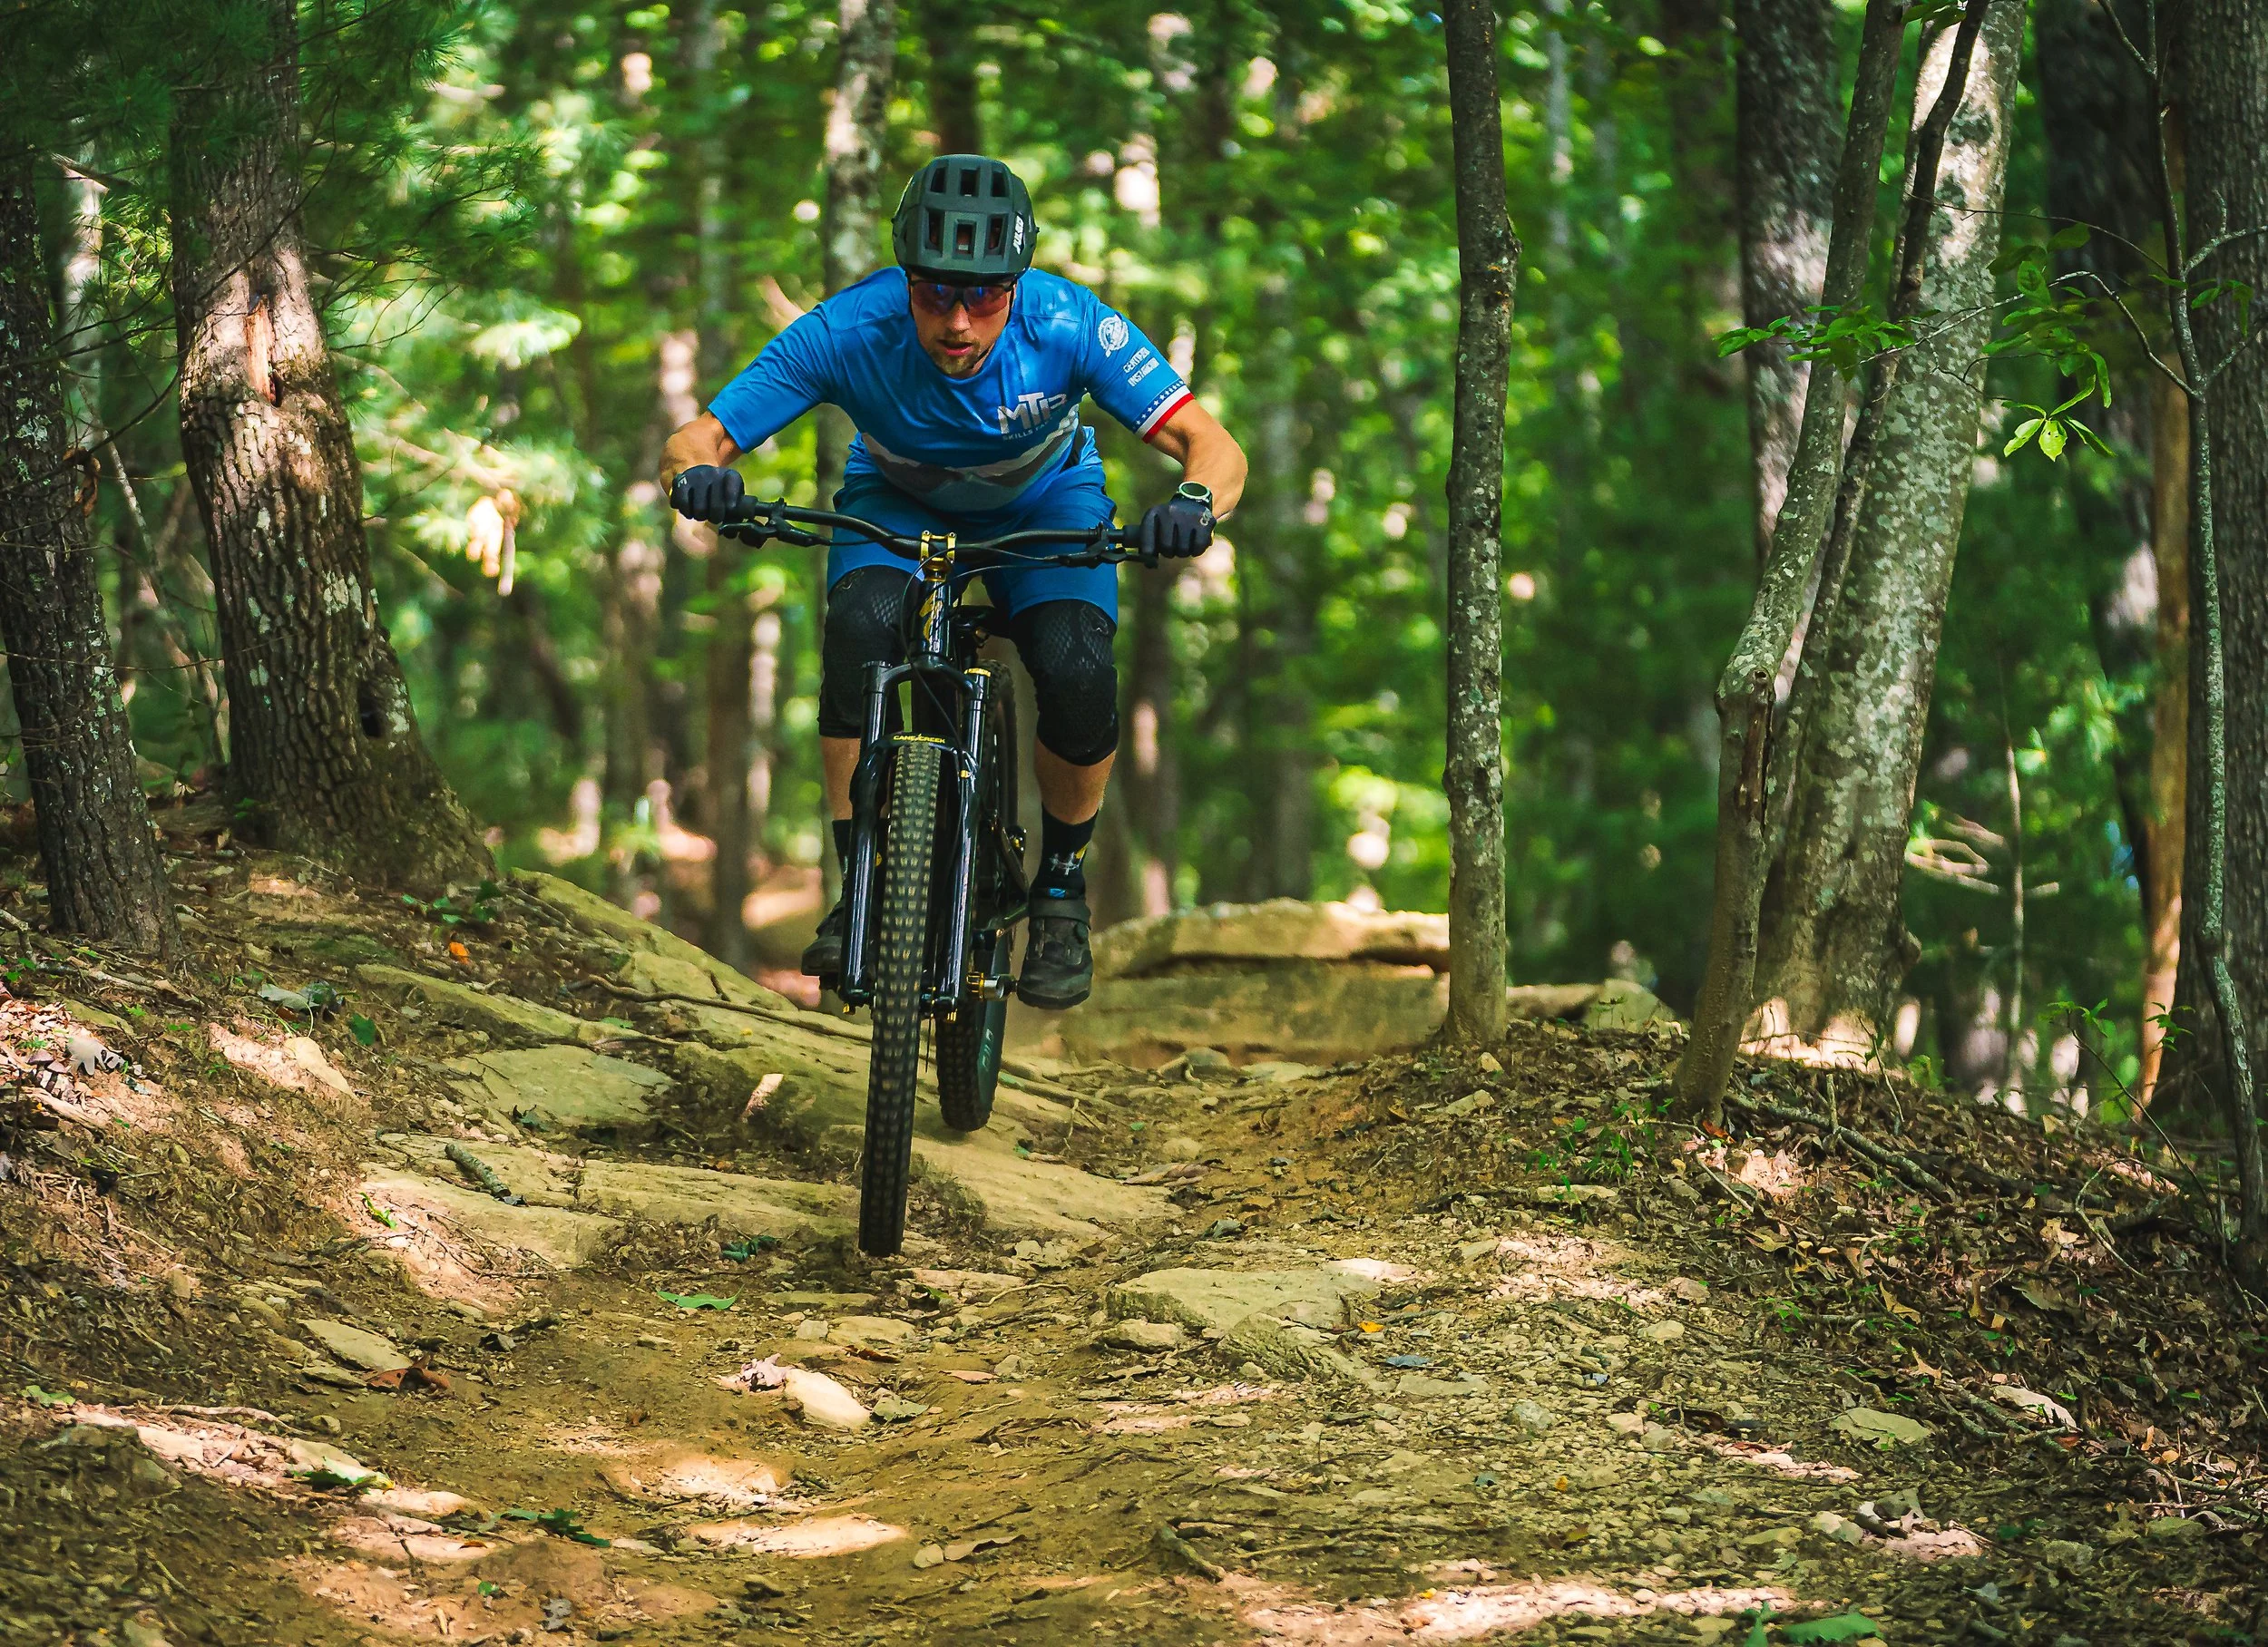
The more technical / steep the section is, the more aggressive the ready position becomes (bend in knees + elbows becomes deeper).
Here, Head Coach Josh, is absorbing the landing of a drop at top speed, so his ready position is lower here. He likely returned to a less aggressive position just seconds later. We do this to conserve energy, no need to squat the whole way down if we can help it right?
Braking: Practice gradual braking. Remember: Right lever = Rear, Left = Front. Stick mostly to the rear for now as you get a feel for it.
Shifting: Avoid shifting while pedaling hard uphill ("under load"). Shift before the hill or during a soft spot in your pedal rotation.
9. How to Progress
The learning curve is steep, but the rewards are huge.
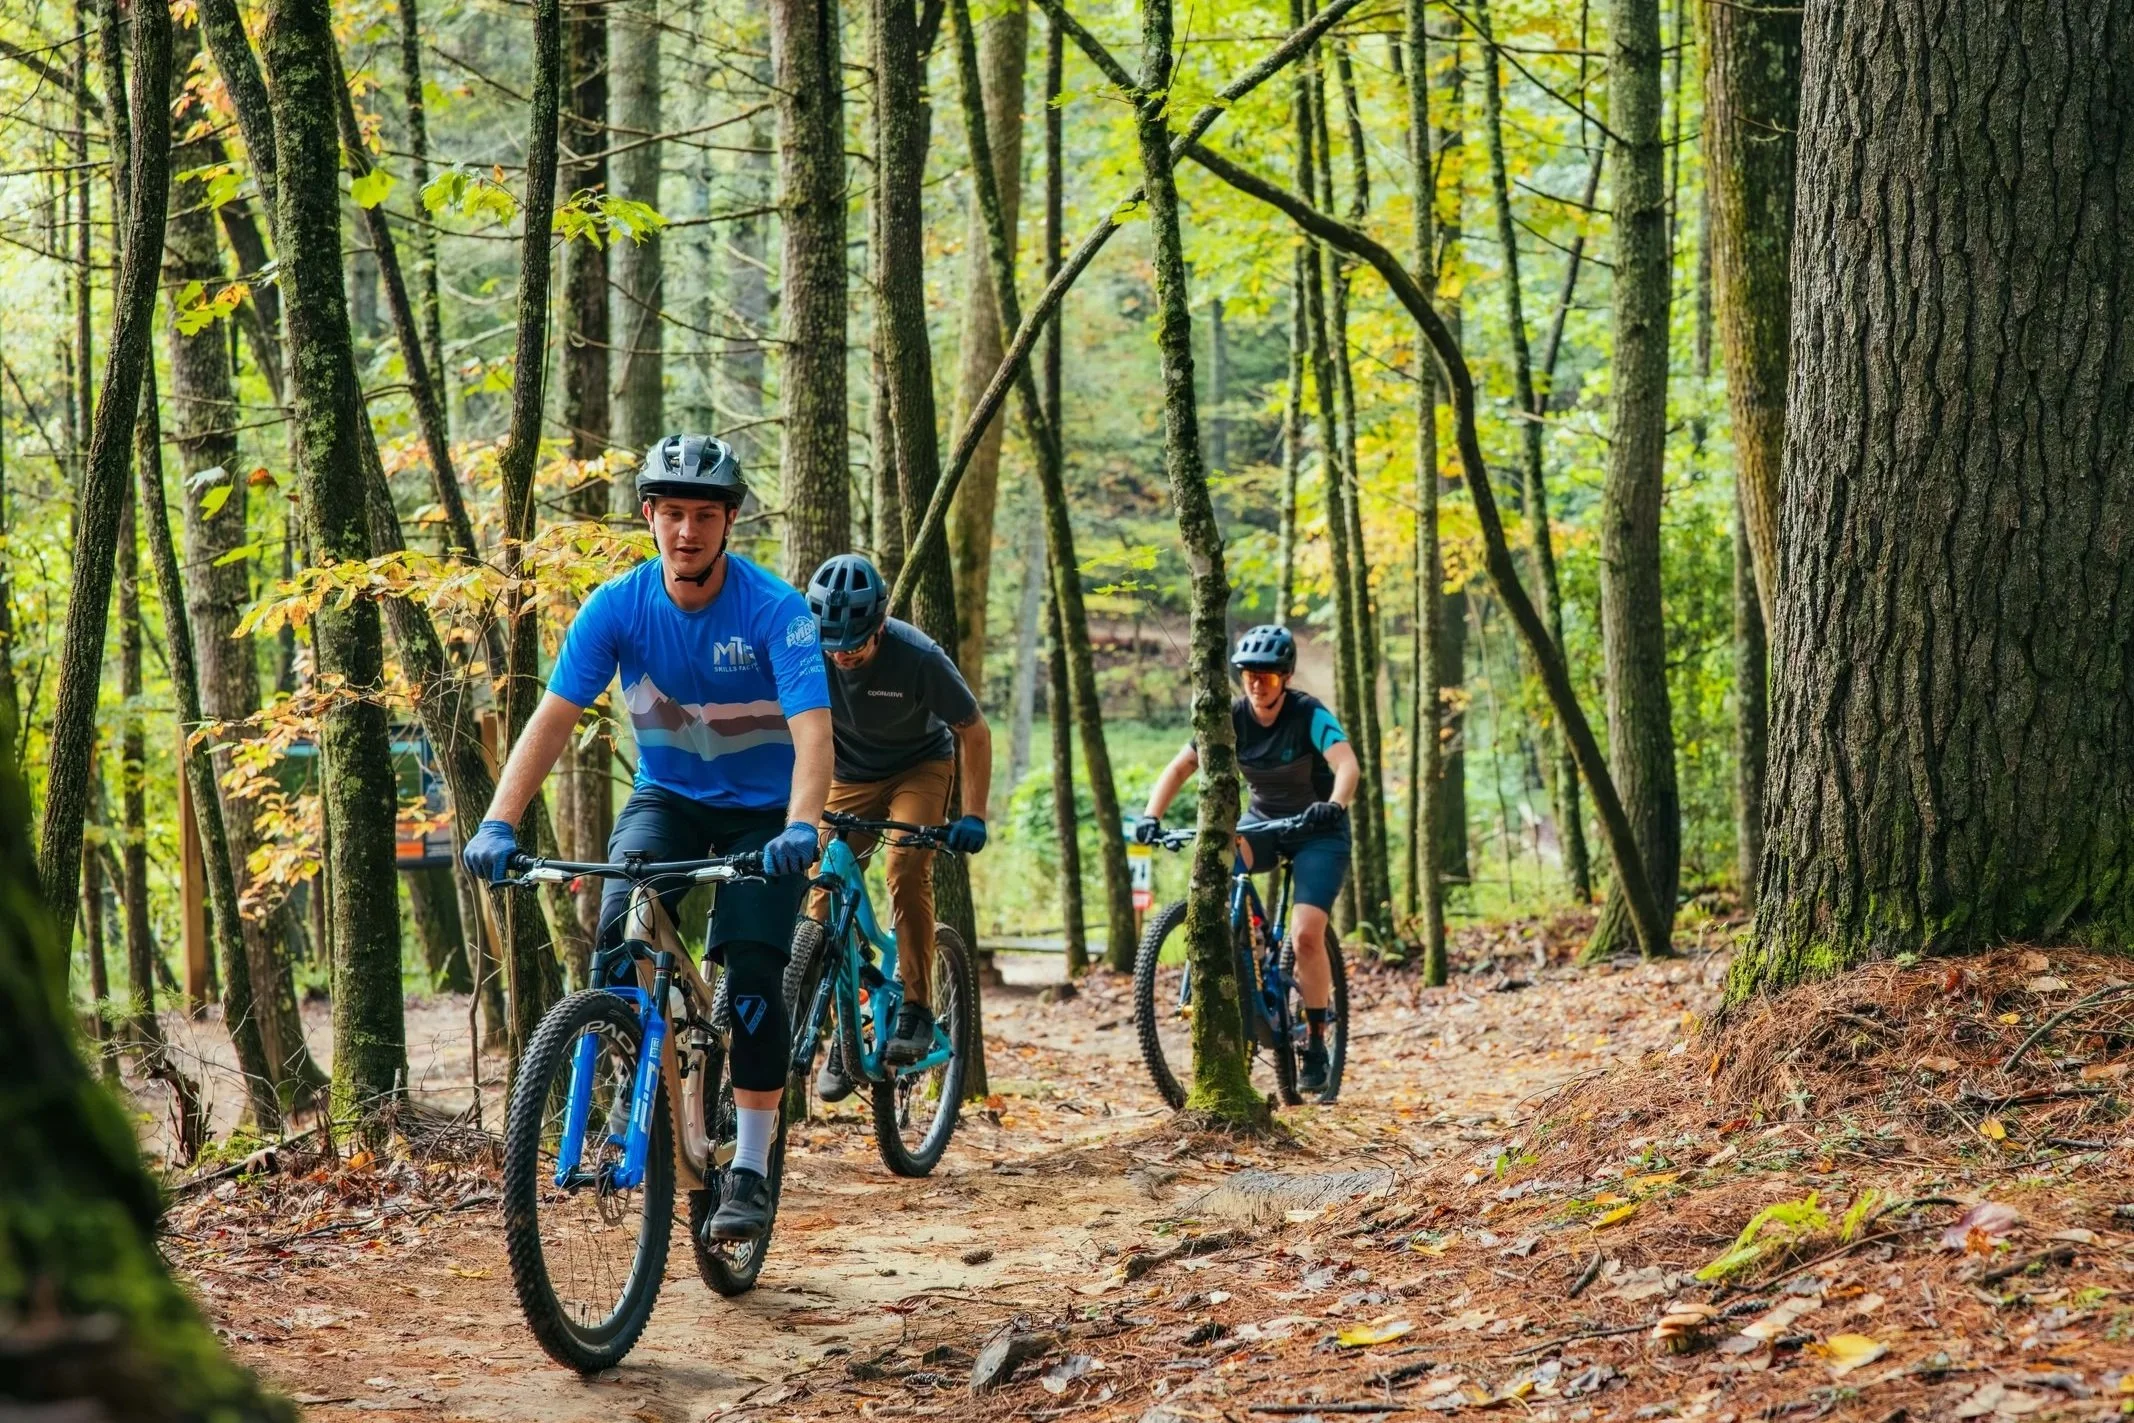
Group Rides: A great way to find community and stay accountable.
Sessioning: If a feature (a rock, a root, a turn) feels unsteady, it's okay to stop and "session" it—try it multiple times until it feels better. It is always okay to walk it and come back to it, if you aren’t feeling like it’s a ‘heck yeah’ then try it another day.
Clinics: We highly recommend private lessons or group clinics to ensure you are heading in the right direction. Professional coaching for a day can fix bad habits that might otherwise take years to unlearn.
Hit the Gym: Core, leg, and arm strength are the "hidden" secrets to better endurance and bike control. Strength training is highly underrated for success in this sport.
We have online custom strength and endurance programs for mountain bikers if you aren’t sure where to get started.
Be Disciplined on the Basics: Challenge yourself to practice skills or maneuvers before or after your rides, just like a musician would practice their scales every time they play.
You can learn drills for these from lessons, clinics, youtube videos, or social media.
Practice: Body positioning, braking, wheel lifts, cornering skills, roll downs, rock dodges, etc.
Pumping and absorbing is an intermediate break through skill / drill every beginner should practice: It dials in crucial building skills like timing, bike & body separation, pressure control, and more. Challenge yourself to both build speed and absorb speed without pedaling or braking — juts pumping & absorbing.
Want more drills? Subscribe to our free Factory Team Newsletter below for drills, tips, insider discounts, and more.
Mountain biking is about more than just the gear; it's about the places your bike will take you, what you will accomplish beyond what you could've ever imagined, and an incredible community of people who are just as psyched about this sport as you are.
Give yourself grace, enjoy the woods, and welcome to the greatest adventure you will ever go on.
Who we are: We are a certified mountain bike coaching, guiding, and shuttle service based in Western North Carolina. We also offer remote fitness and endurance training for cyclists all across the globe. Our Head Coach and founder, Josh Whitmore, is the most active US Instructor Trainer for GSMBC.
Our team is the only US based coaching outfitter to have TWO coaches with PMBIA & GSMBC Level 4 Expert Certified Professional Coach Certification. Read more about it here.
Here at MTB Skills Factory, we strive to build empowered riders and a supportive community where everyone belongs.